
Blog
Crafting Nature Sensory Boards: Exploring the Beauty of Leaves and Flowers
Oct
Hey there, fellow nature lovers! If you’ve ever wandered through a sun-dappled forest, taken an invigorating stroll through a vibrant meadow, or just plopped down on a soft patch of grass to watch the clouds roll by, you know the world outside is bursting with delightful wonders. Those wonders can inspire some fantastic creativity in our own homes, particularly through something delightfully hands-on: nature sensory boards!
So grab your walking shoes, and let’s get into how you can create your very own nature sensory board using flowers and leaves! This project not only sparks creativity but also brings a little slice of the natural world indoors, making it perfect for kids, adults, and nature enthusiasts alike.
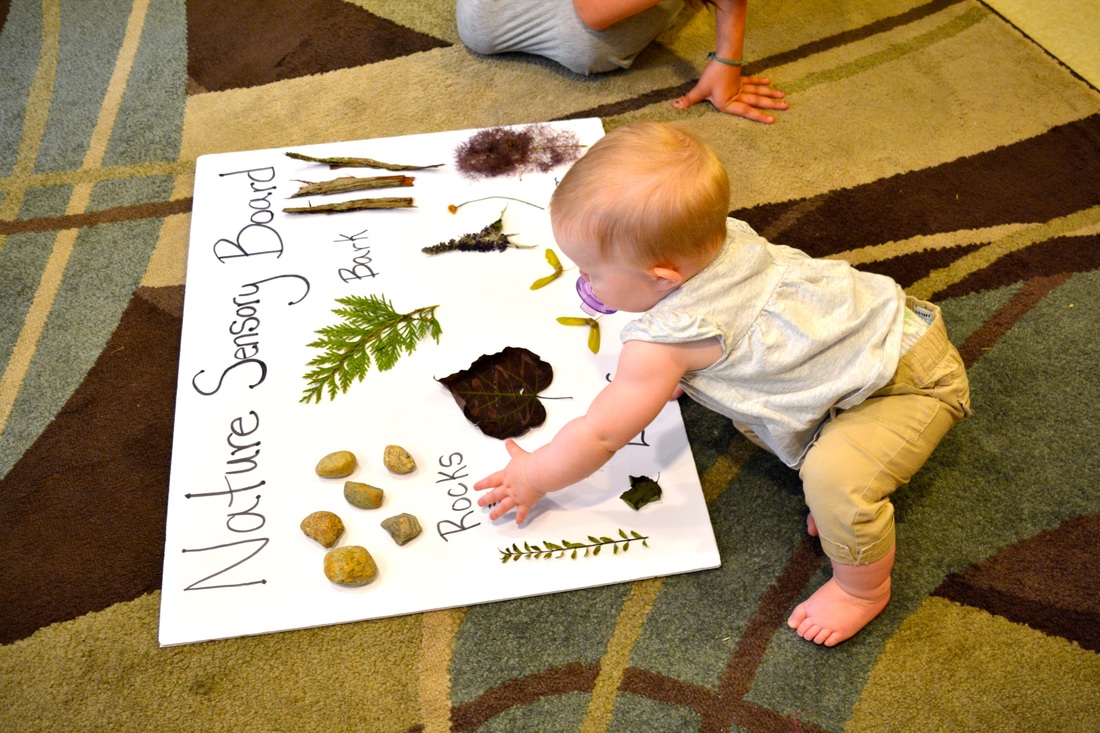
What Is a Nature Sensory Board?
In simple terms, a nature sensory board is a tactile display that encourages exploration and interaction. Picture a canvas filled with all sorts of elements from nature—textures, colors, and scents that can inspire both kids and adults. Whether you want to engage a child’s sense of touch or simply relish the beauty of the outside world, these boards can serve many purposes.
Why Make a Nature Sensory Board?
- Encourages Curiosity: A sensory board is not just visually stimulating but also encourages curiosity. Kids can explore different textures, colors, and scents, while adults might find peace in the beauty of nature.
- Educational Benefits: For kids, these boards can be a fantastic educational tool. You can incorporate lessons on botany, ecosystems, and the importance of nature, all while keeping things fun!
- Stress Relief: There’s something incredibly calming about engaging with natural elements. Creating the board can be a meditative activity itself. Plus, simply having it in your space can help bring a sense of calm and connection to the earth.
- Upcycling: If you’re looking to be more eco-friendly, using natural elements is a fantastic way to repurpose and appreciate what’s already around us.
>>>Read more: Unlock Your Child’s Motor Skills with a Fun Montessori Activity: Spooning
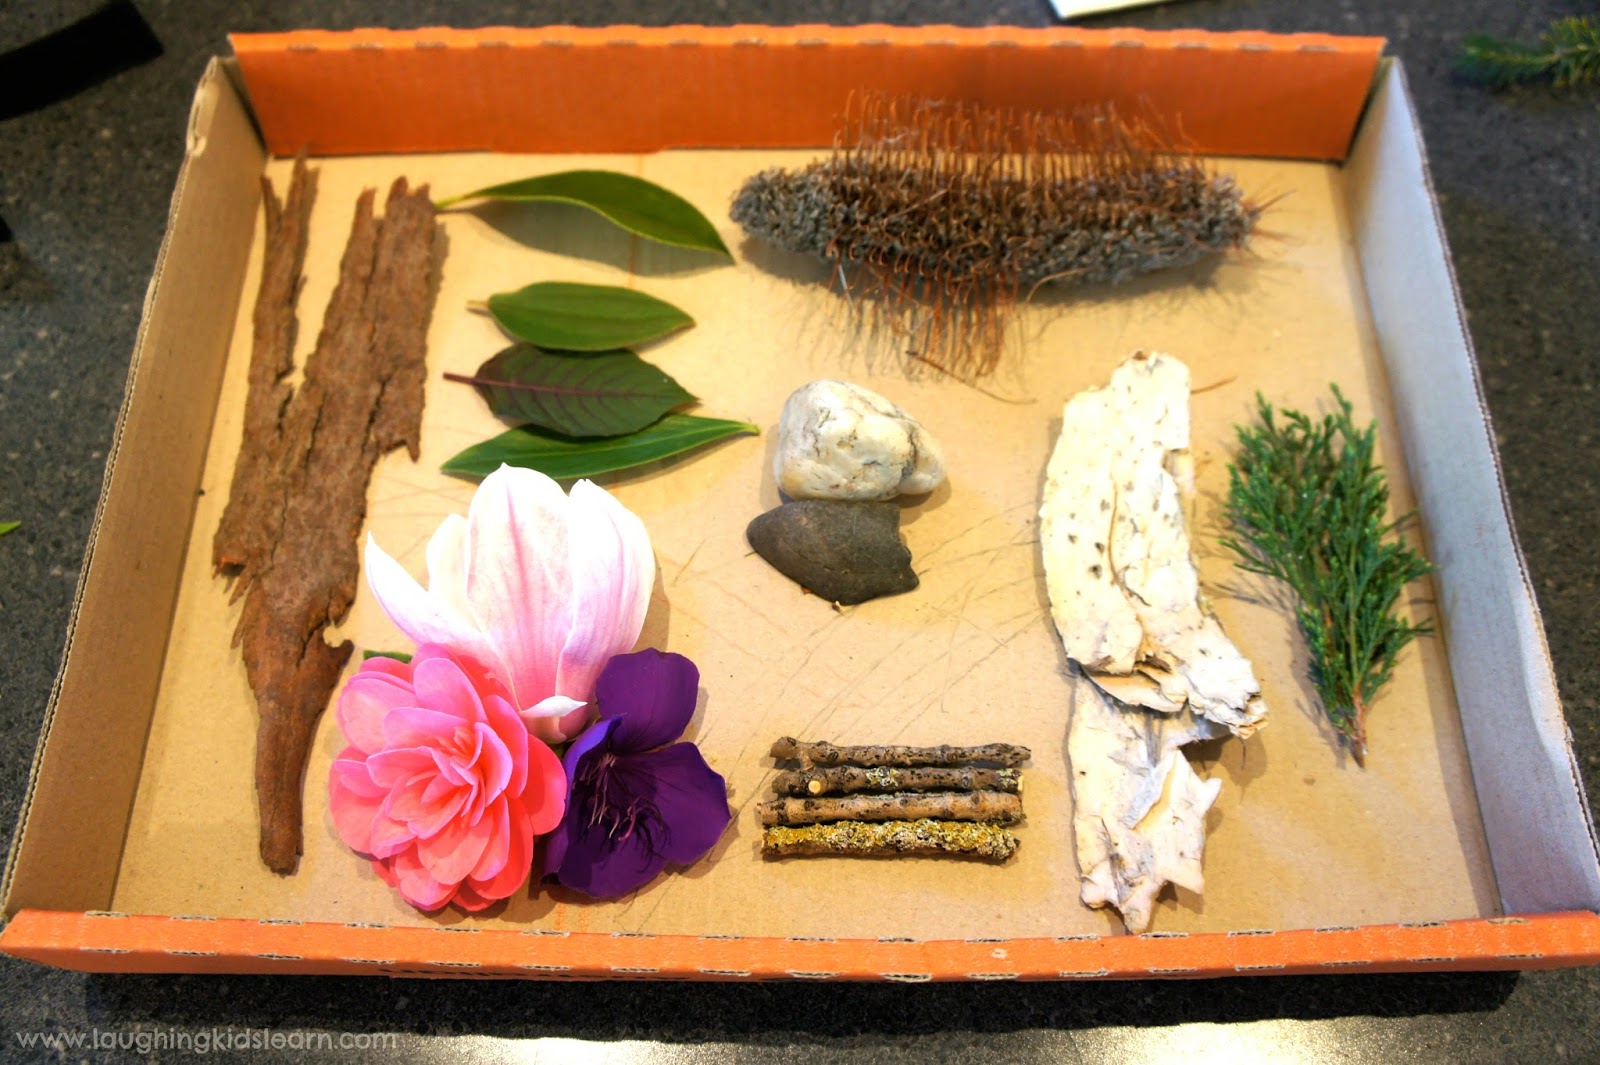
Gathering Your Materials
To get started, you don’t need a PhD in botany or a master’s in art. Here’s what you’ll need:
- Leaves and Flowers: Head outside to your garden, local park, or even your next nature walk. Collect a variety of leaves and flowers—different shapes, sizes, and colors will create an interesting mix.
- Baseboard: A piece of cardboard, wood, or heavy poster board will work as the base of your sensory board. Choose a size that works for you—larger boards provide more space for creativity.
- Adhesives: Any glue suitable for art projects will do, along with some paint if you want to add flair to your board.
- Protective Sealant: If you want your creation to last, consider using a sealant to preserve the natural elements.
- Additional Sensory Items (optional): Think about adding some elements like pine cones, dried herbs, small rocks, or even scented oils to create an even richer sensory experience.
Creating Your Nature Sensory Board
- Preparation: Gather and Dry
Start your journey by collecting a variety of leaves and flowers. If you want to use them on your board without them wilting, it’s a good idea to dry them out first. Use a flower press (or just place them between two heavy books) to flatten and dry them out for a few days. - Brainstorm Design
Before laying anything down, consider how you want your final creation to look. Do you want a structured layout or one that’s more free-form? Think about color balance and the arrangement of different textures. You could even sketch a rough outline! - Attach the Elements
Once your base is ready and your leaves & flowers are dried, start sticking things down. Use your adhesive to attach your natural elements in your planned layout. Don’t be afraid to layer them or play with orientation—how you arrange them can add depth and interest. - Additional Touches
This is where you can get a little wild! Add in your extra sensory elements like textures from rocks or the softness of moss. Perhaps add signposts with facts about each item. A little sprinkle of your favorite dried herbs could offer a delightful aroma. - Seal the Deal
If you want your sensory board to last, a protective sealant can help preserve your delicate foliage. Give it a coat or two, and let it dry completely before putting it up for display. - Display Your Creation
Now comes the fun part! Find a place in your home where you can showcase your board. You could mount it on a wall, lean it against a shelf, or even use it as a rotating art piece in the living room. Let it be a conversation starter or a space for exploration.
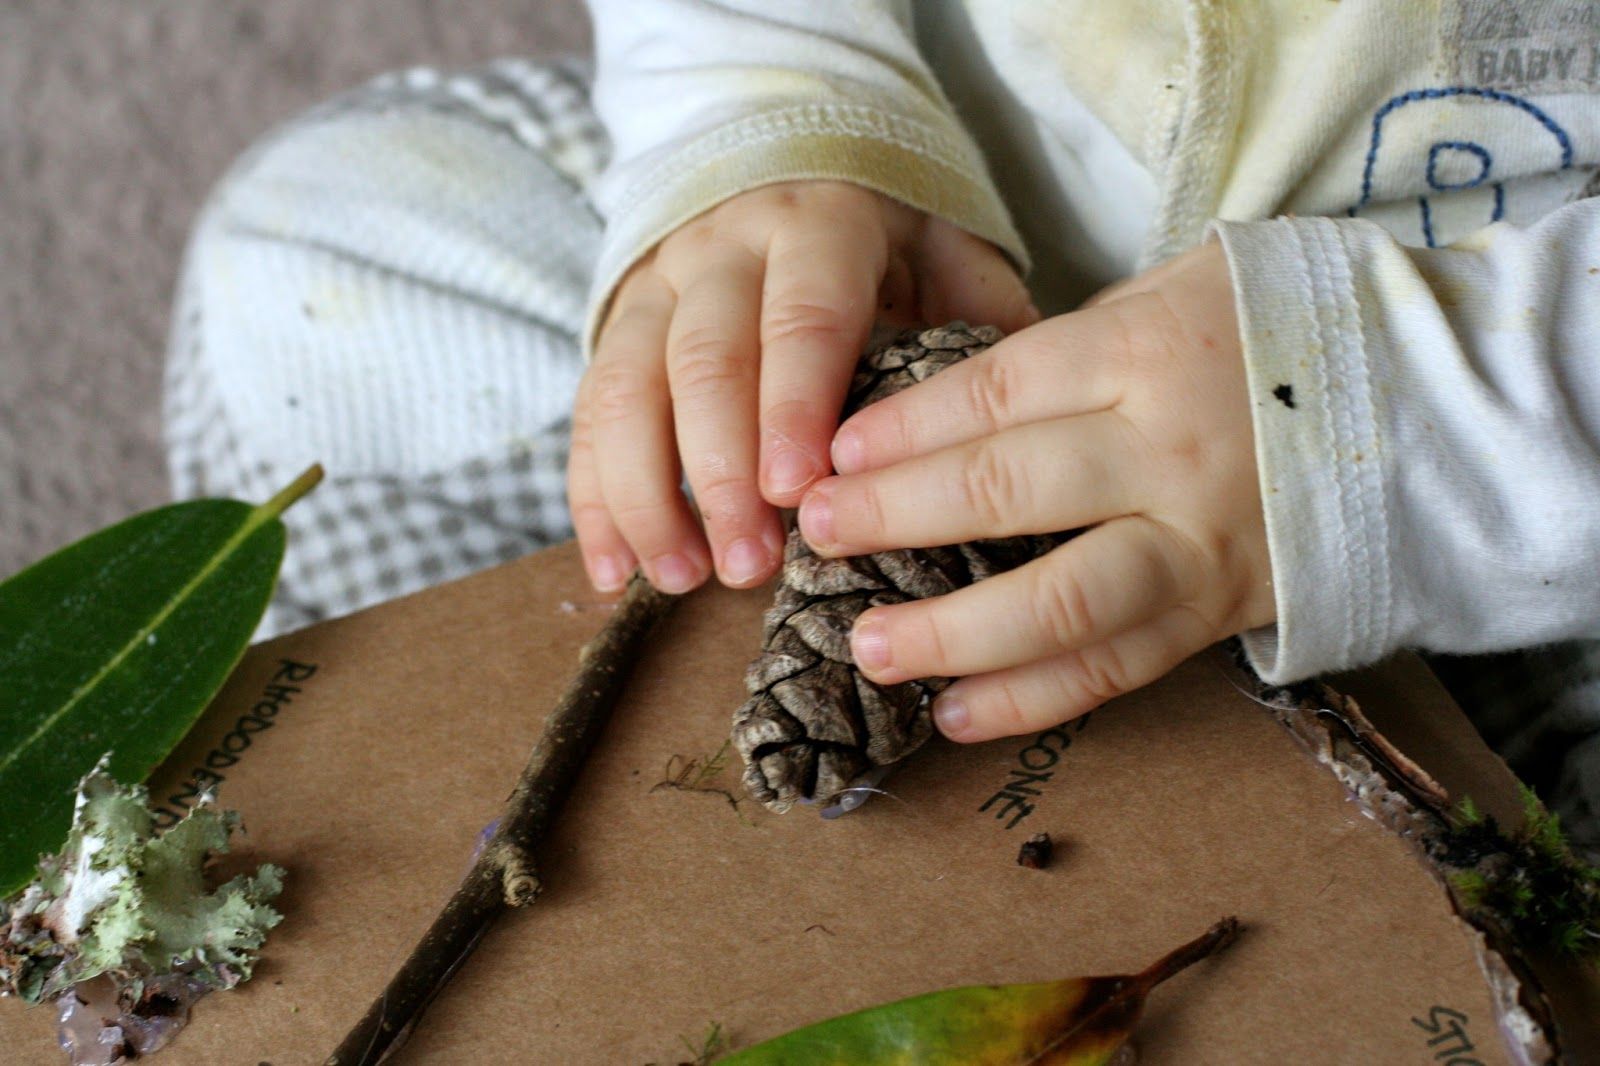
Engaging with Your Nature Sensory Board
Now that your board is complete, engage with it! Encourage kids to touch, smell, and explore the elements you’ve included. You might even turn it into a learning experience by discussing where each element comes from or why it’s significant to the ecosystem.
For a fun twist, you could also change out elements with the seasons. Incorporate seasonal flowers and leaves to keep your sensory board dynamic and reflective of the time of year.
Final Thoughts
Creating a nature sensory board is a fantastic way to mix creativity with the beauty of the great outdoors. It’s a versatile project that can be adapted for all ages and skill levels, making it a perfect family activity or personal project. Not only will you end up with a stunning piece of art, but you might also discover a newfound appreciation for the natural world around you.
So what are you waiting for? Grab those leaves, get your hands a little messy, and let nature inspire your artistry. Happy crafting, folks!