Blog
Crafting Calm: The Ultimate Guide to Making Your Own Homemade Fidget Board
Hey there, fellow fidgeters! If you’re anything like me, you probably know that sometimes you just need a little something to keep your hands busy. Whether you’re in a super boring meeting, waiting in line at the grocery store, or just hanging out on the couch, fidgeting can be a lifesaver. This brings us to the hero of our story today: the fidget board! And what’s even better? You can totally make your own at home! So grab your craft supplies, and let’s get our DIY on.

What Exactly is a Fidget Board?
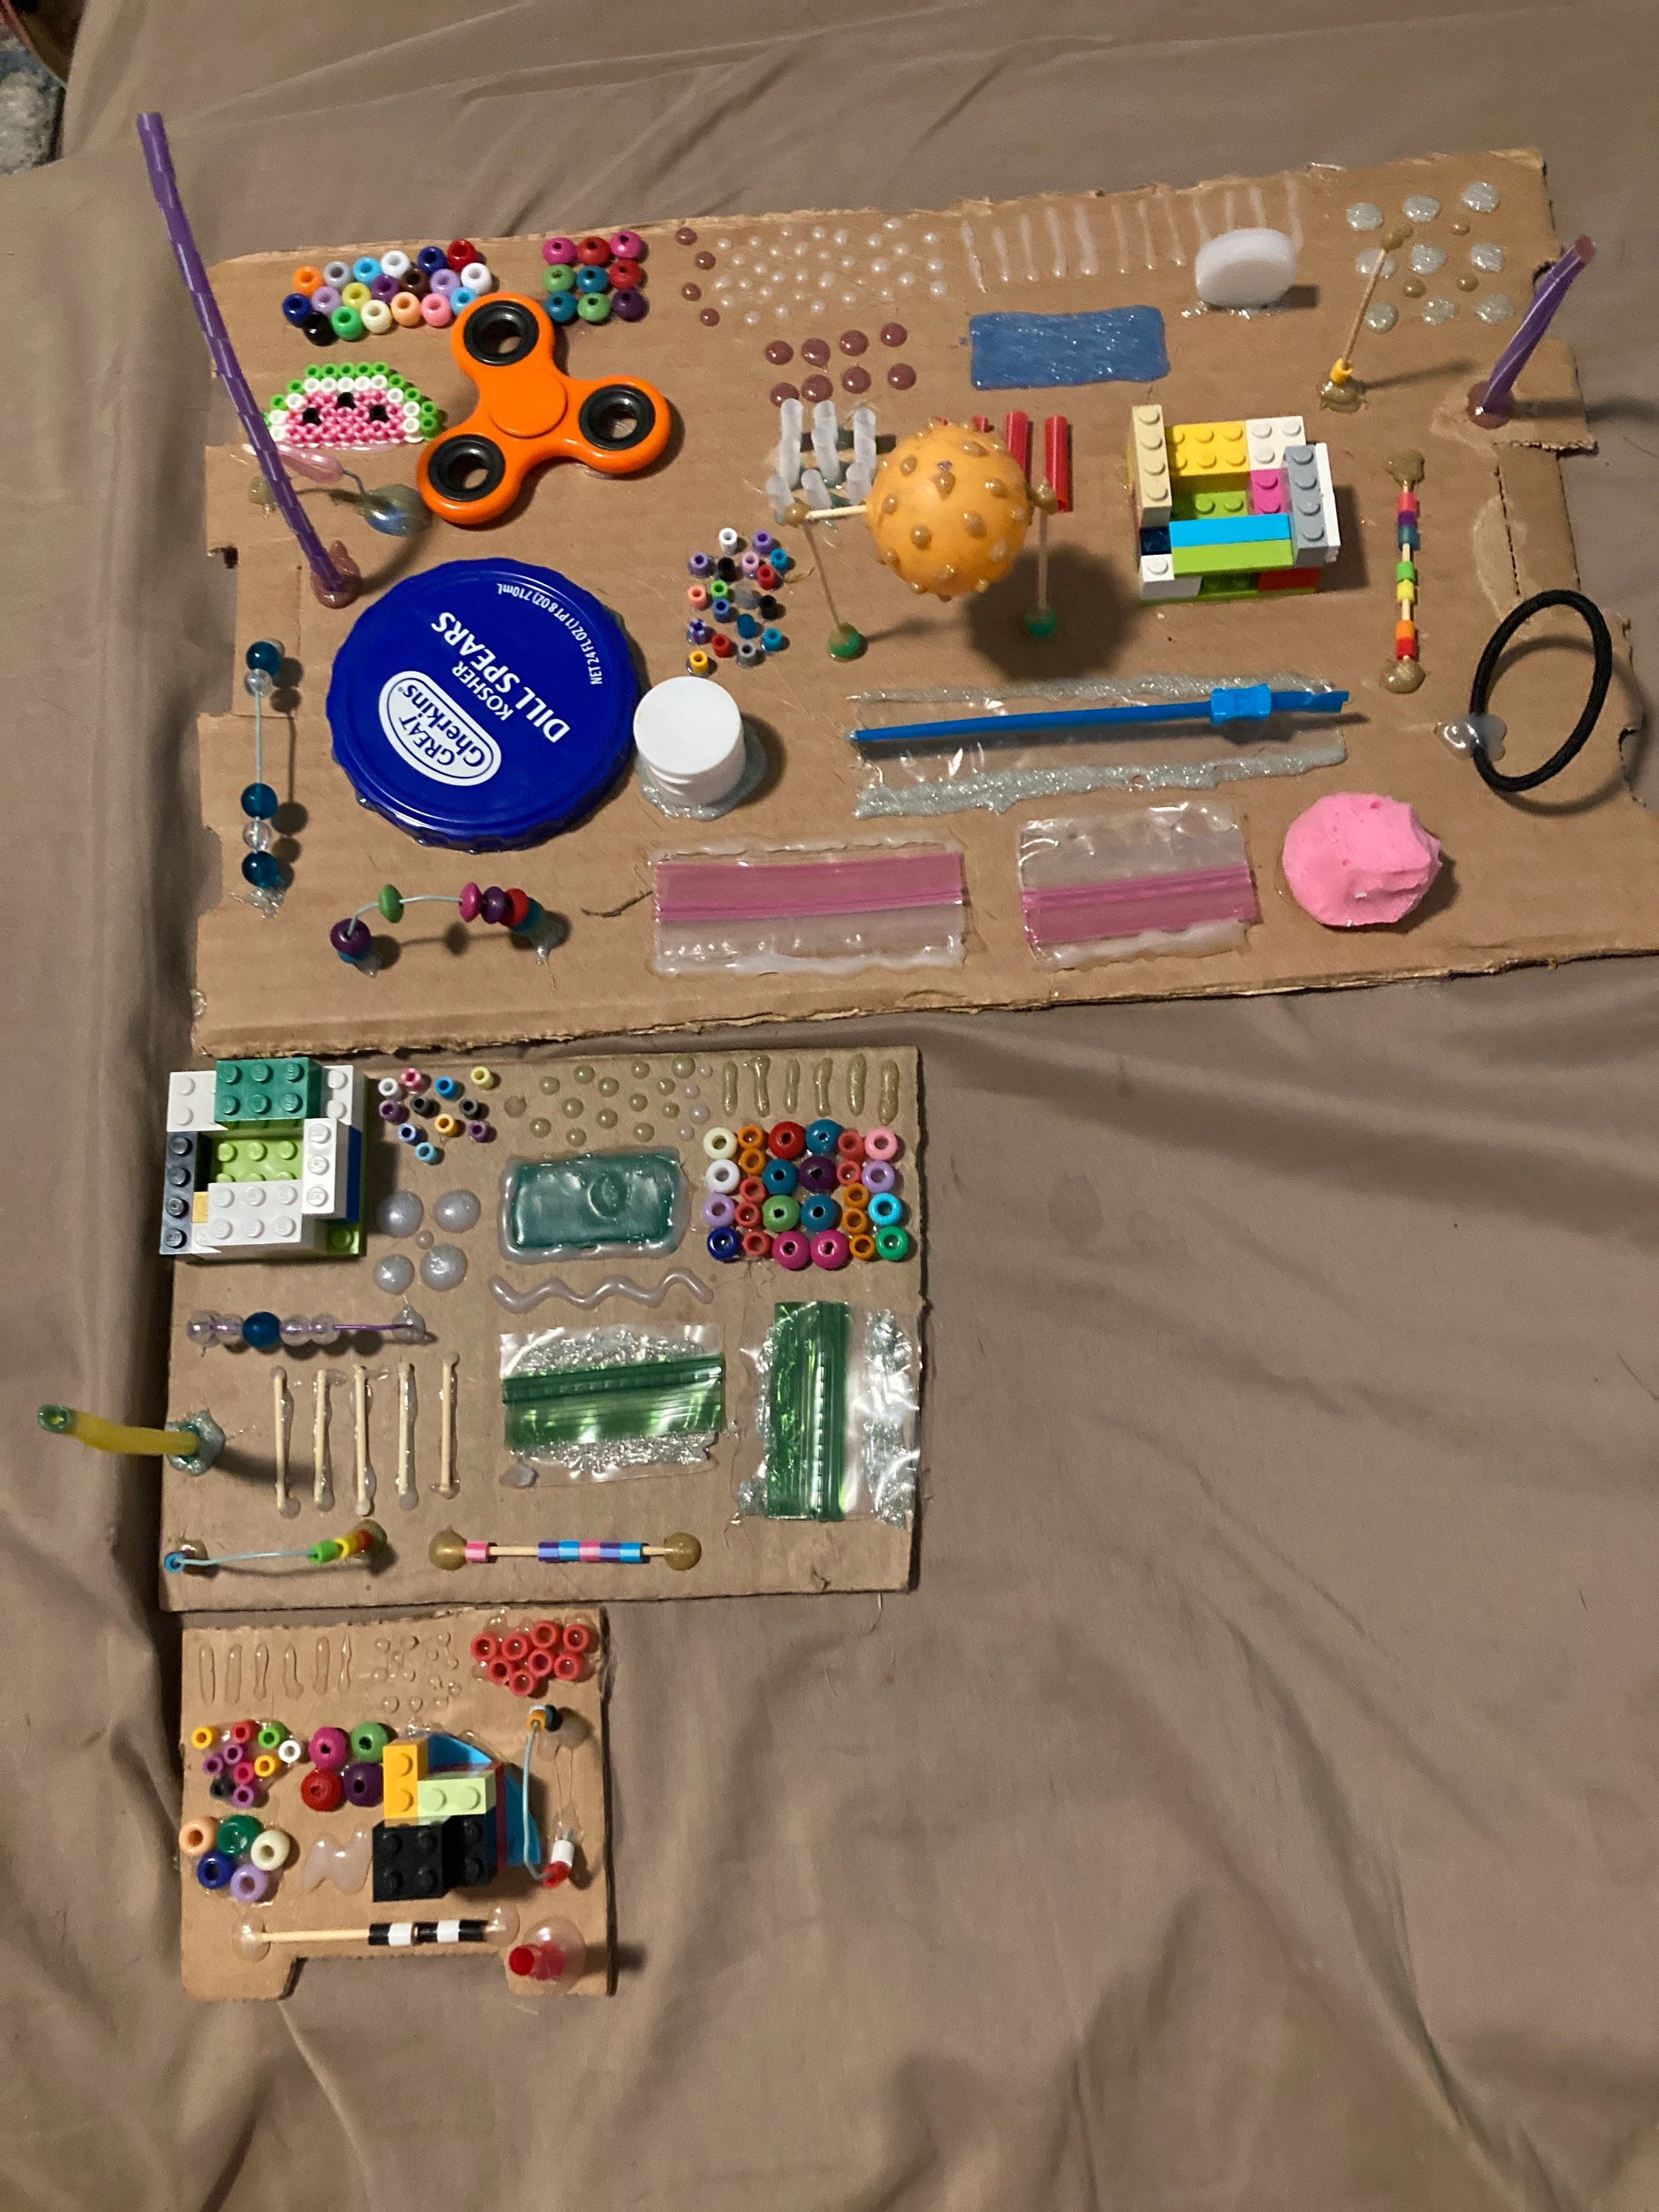
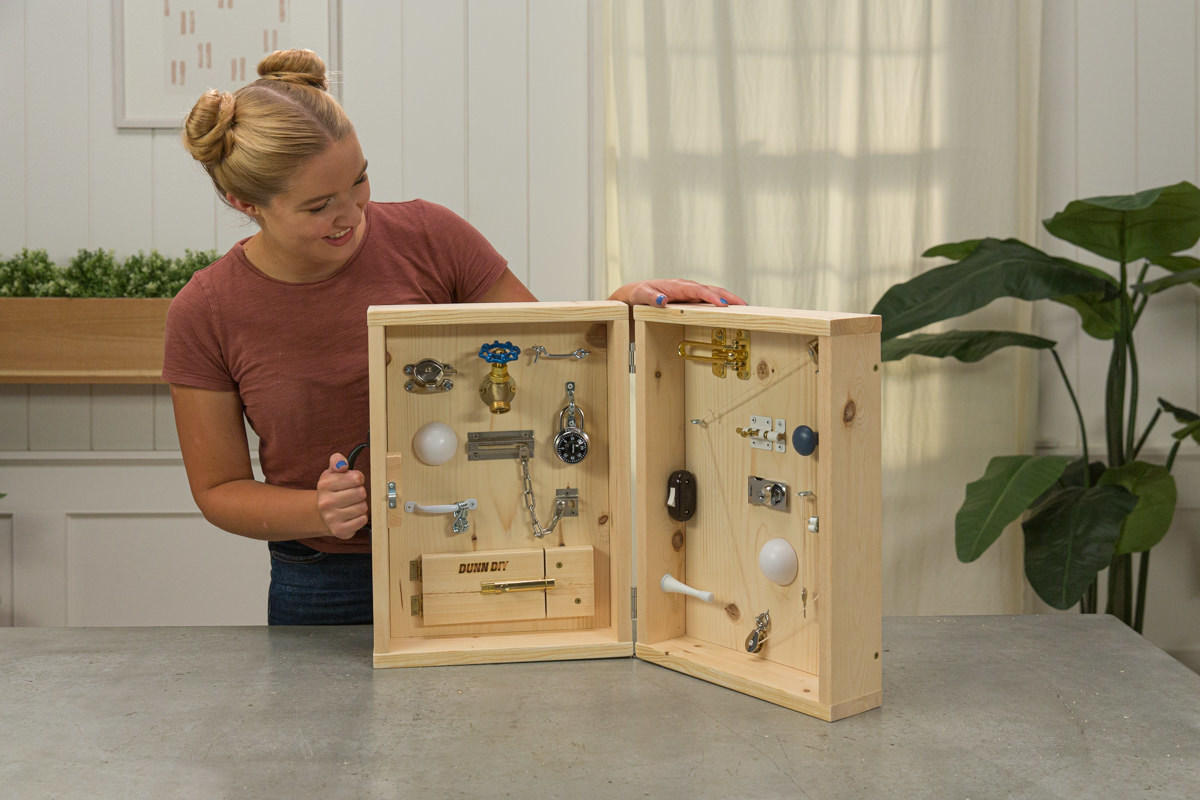
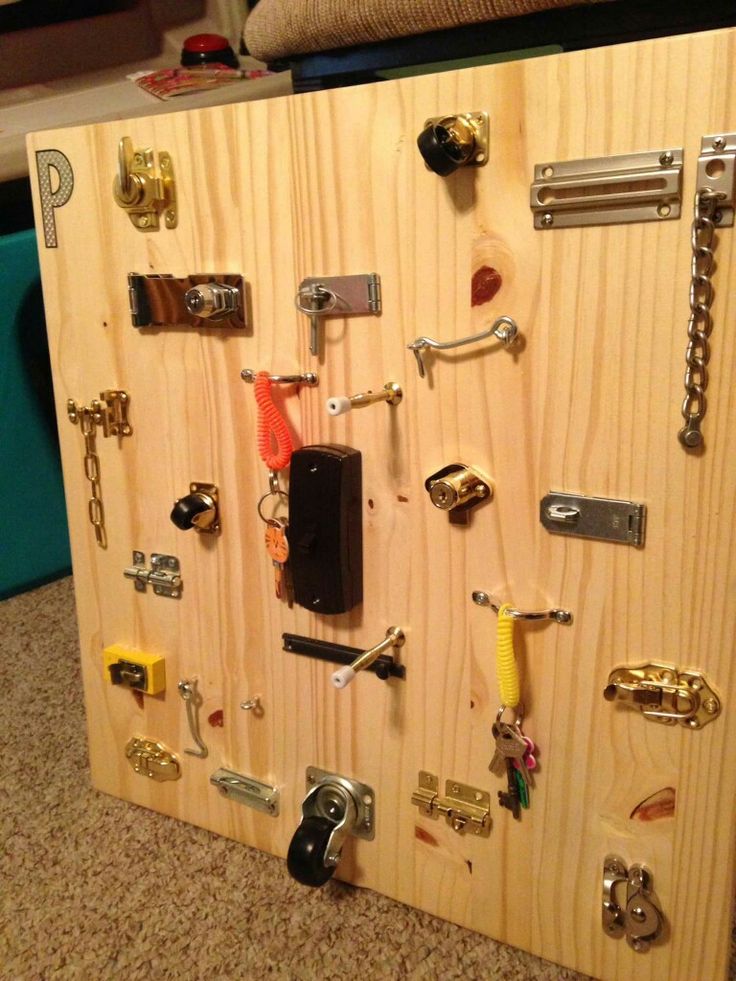
First things first — what the heck is a fidget board anyway? Think of it as a tactile playground for your hands. It’s typically a flat surface outfitted with various items that are satisfying to touch, squeeze, spin or move around. It’s not just a craft project; it’s a tool for relaxation, focus, and stress relief. These boards can feature everything from buttons and switches to textured fabrics and spinning toys. They’re perfect for those who need to keep their hands busy to help their minds focus.
>>>Buy now: Custom Name Busy Board 1 2 3 Year Old
Why Make a Fidget Board at Home?
You might be wondering why you should take the time to craft your own fidget board instead of just buying one from the store. Here are a few reasons:
- Customization: You can add whatever your heart desires! If you love pressing buttons, go for it! If you like rolling textures, load it up with all the soft materials. The sky’s the limit!
- Cost-Effective: Let’s be real, fidget toys can add up. By making one yourself, you can save some cash and use materials you already have lying around the house.
- Creative Outlet: Crafting is a wonderful stress reliever. You’ll find that creating your own fidget board can be just as calming as using it!
- Personal Touch: A homemade fidget board can reflect your personality and interests. You could even make it themed around your favorite show, hobby, or color scheme. Fancy a Star Wars fidget board? I think yes!
- Gifting: If you know someone who would benefit from a fidget board, making one for them can be a heartfelt (and practical) gift.
Getting Started: Supplies You’ll Need
Alright, it’s time to gather those crafting tools! Here’s a basic list of supplies you’ll need to create your fidget board:
- Base Board: This could be a piece of plywood, cardboard, or even an old cutting board. You want something sturdy that can support your items.
- Fidget Items: Here are some ideas to consider:
- Buttons (old clothes or craft stores)
- Switches (like those from old electronics)
- Textures (fabrics, sandpaper, or bubble wrap)
- Small toys (rubber balls, action figures, etc.)
- Keychains or lanyards
- Adhesives: Hot glue gun, super glue, or even double-sided tape to affix your items to the board.
- Paint or Decorations: Optional, but you might want to beautify your board with some paint, washi tape, or stickers.
- Tools: Scissors, a ruler, a pencil, and maybe a drill if you’re feeling fancy.

Let’s Build This Thing!
Now that you’re fully equipped, it’s time to get down to business! Here’s a step-by-step guide on creating your own fidget board.
>>>Read more: Unleash Creativity: 3 DIY Busy Board Ideas Using Different Materials
Step 1: Plan Your Layout
Before you start gluing things down, lay out your items on the board to see how everything fits. This is your chance to get creative! Try not to overcrowd the board; you want to have enough space to explore each fidget feature without it being too cramped.
Step 2: Secure Your Items
Once you’re happy with the layout, start securing your items to the board. If you’re using a glue gun (which is my personal fave), make sure to apply the glue to the item, not the board, to avoid excess glue blobs. If you’re using screws, be sure to pre-drill holes to avoid splitting the wood.
Step 3: Add the Fidget Factor
Each item you add should provide a unique sensory experience, so think about how they move or feel. When securing items like buttons or switches, ensure that they actually function – there’s nothing more satisfying than flicking a light switch that actually turns on (especially if it’s just a toy).
Step 4: Decorate!
Once everything is secured, bring your board to life! This is where the fun really kicks in. Paint it, add some cool designs, or throw on some fun stickers. Make it as unique as you are! You could even add a motivational quote to inspire you during those fidget breaks.
Step 5: Take It for a Spin!
Once everything’s dried and secured, it’s time to put your homemade fidget board to the test. Carry it around with you, use it while working, or whip it out during those pesky wait times. Notice what items you gravitate toward and how they make you feel.

Wrapping it Up
And there you have it, folks! You’ve crafted your very own homemade fidget board! It’s not just a cool project; it’s a valuable tool for mindfulness, concentration, and stress relief. Plus, every time you use it, you’ll have the satisfaction of knowing you made it yourself.
Remember, the world of fidgeting is vast and endlessly customizable, so feel free to update and change your board as your needs evolve. If you come up with new ideas or items to add (or if you create an entirely new board), make sure to share them!
Happy fidgeting, everyone! Let’s keep those hands busy and those minds focused!
