Blog
DIY Dollar Tree Busy Board: A Fun and Engaging Project!
Hey there, fellow DIY enthusiasts! Are you on the hunt for a fun, crafty project that keeps little hands busy and curious minds engaged? If so, you’ve come to the right place because today we’re diving into the wonderful world of busy boards, specifically focusing on creating one using nothing but items from Dollar Tree! 🎉

What’s a Busy Board Anyway?
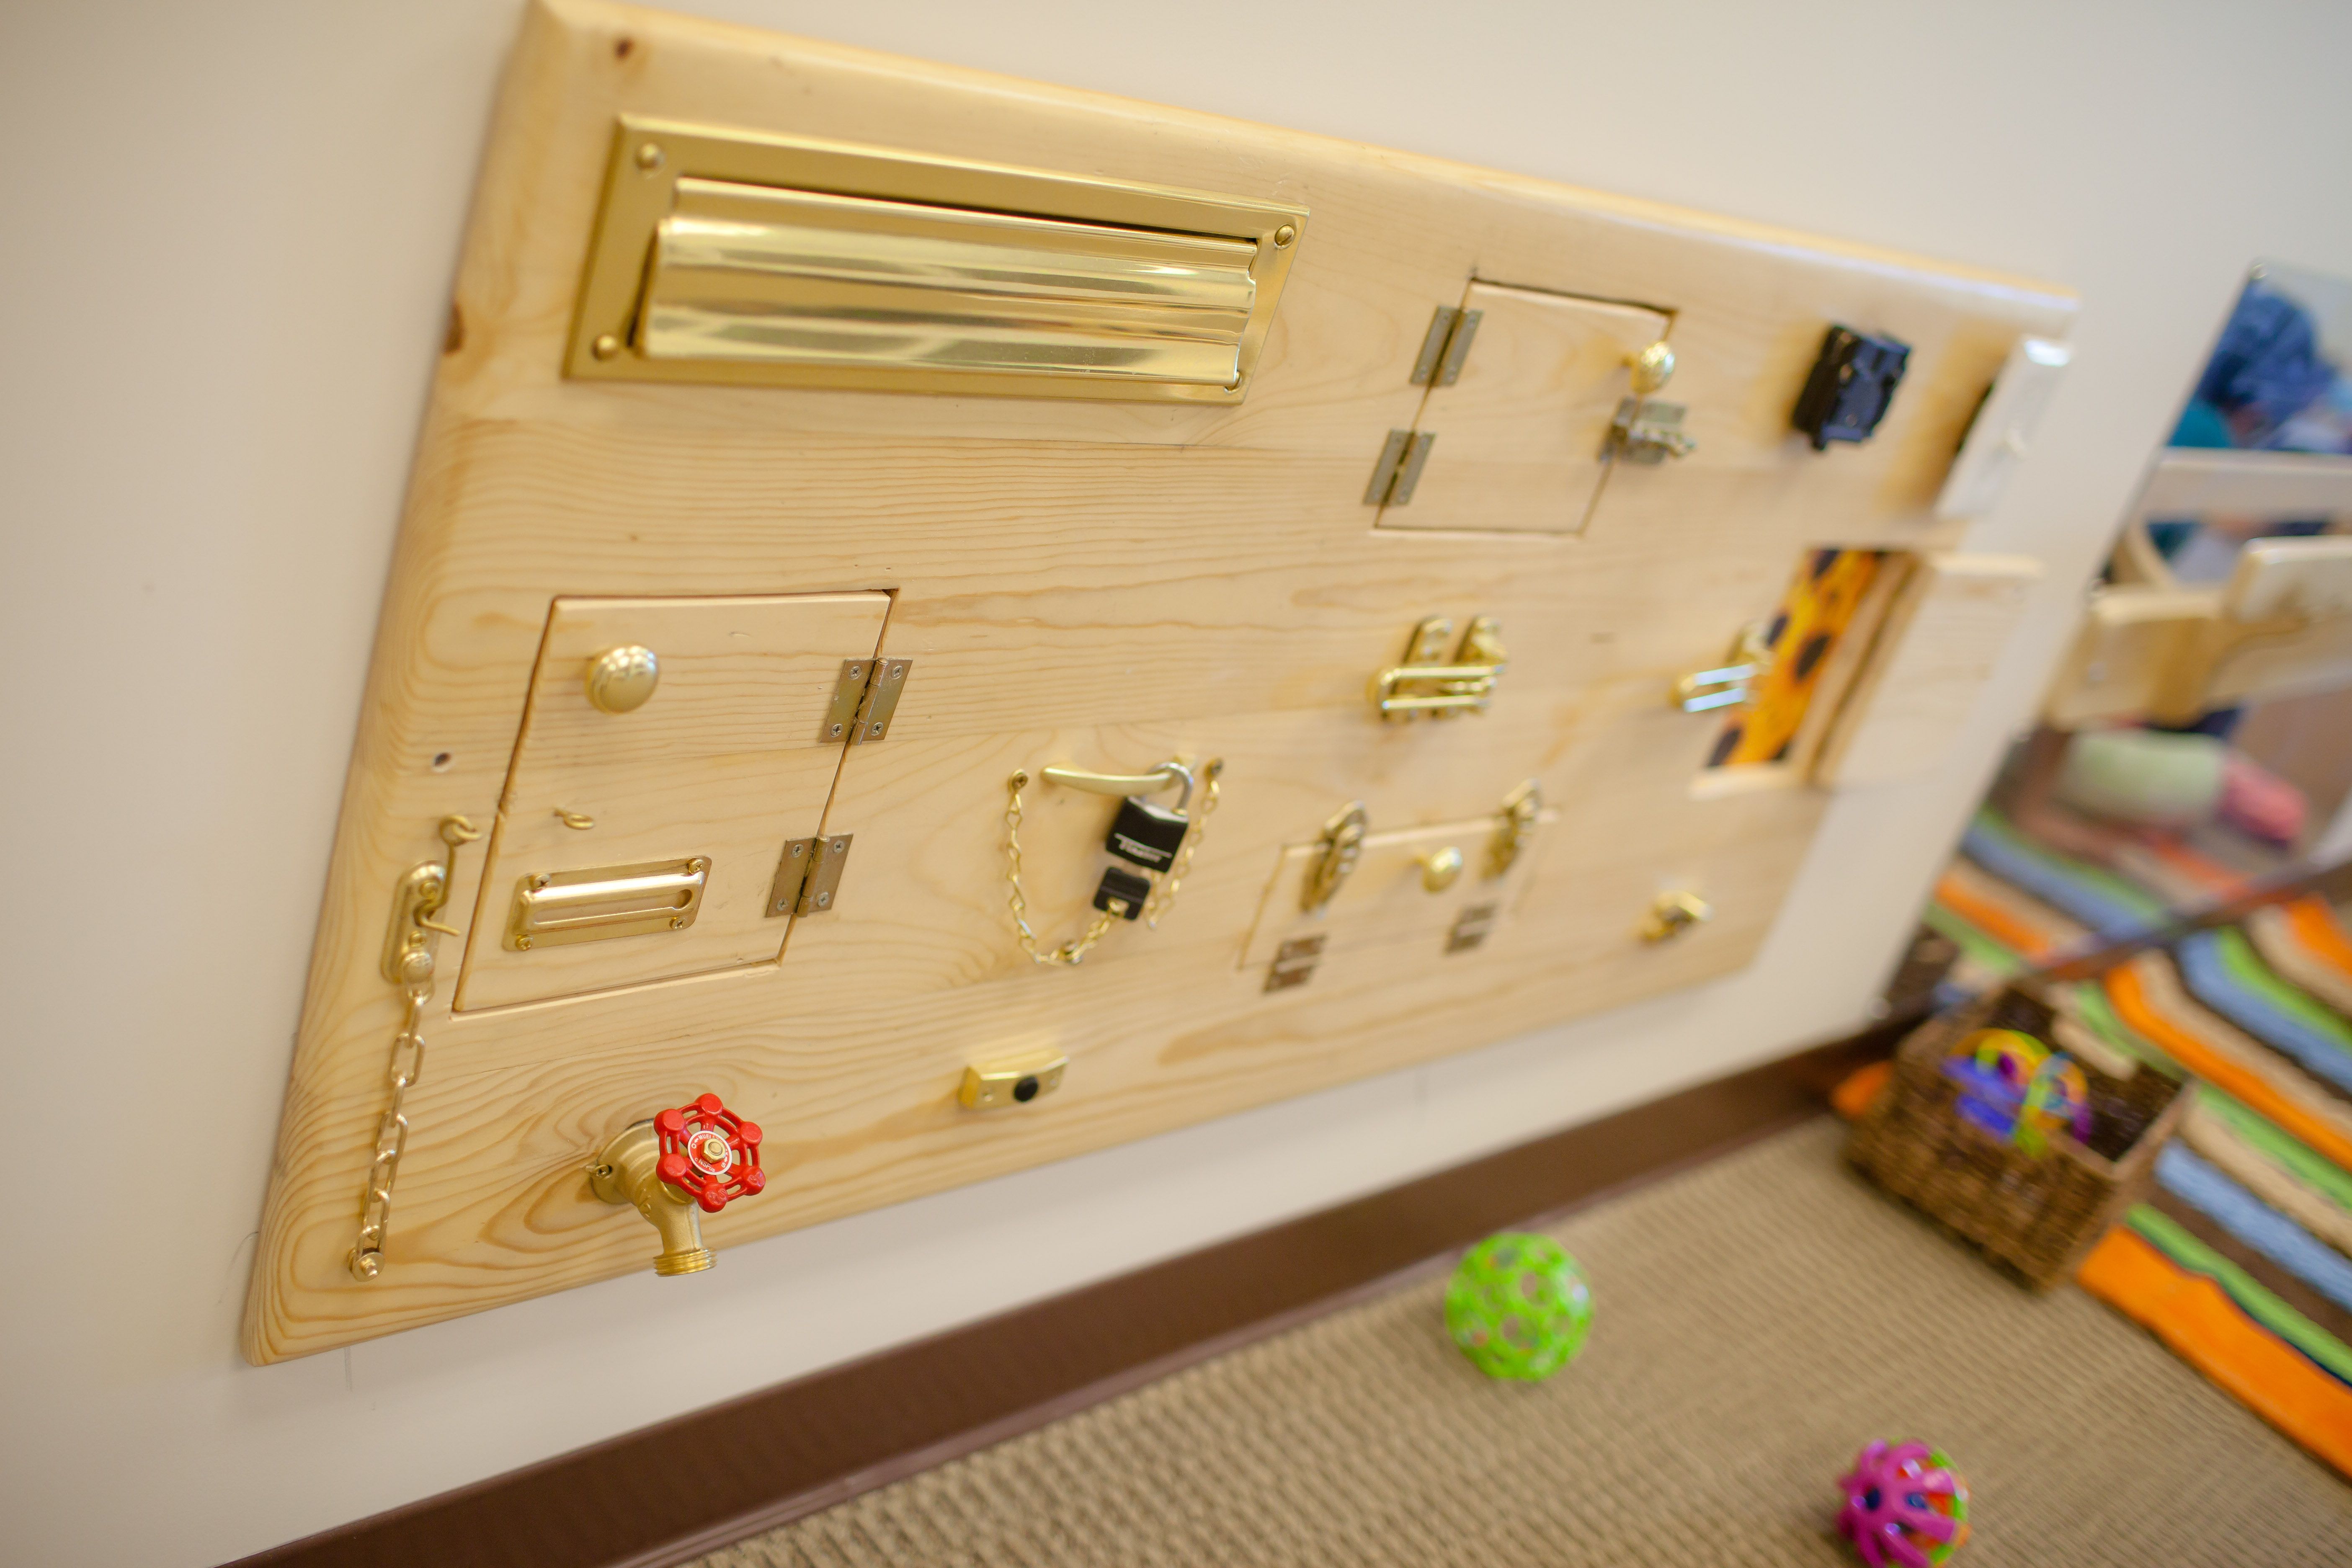
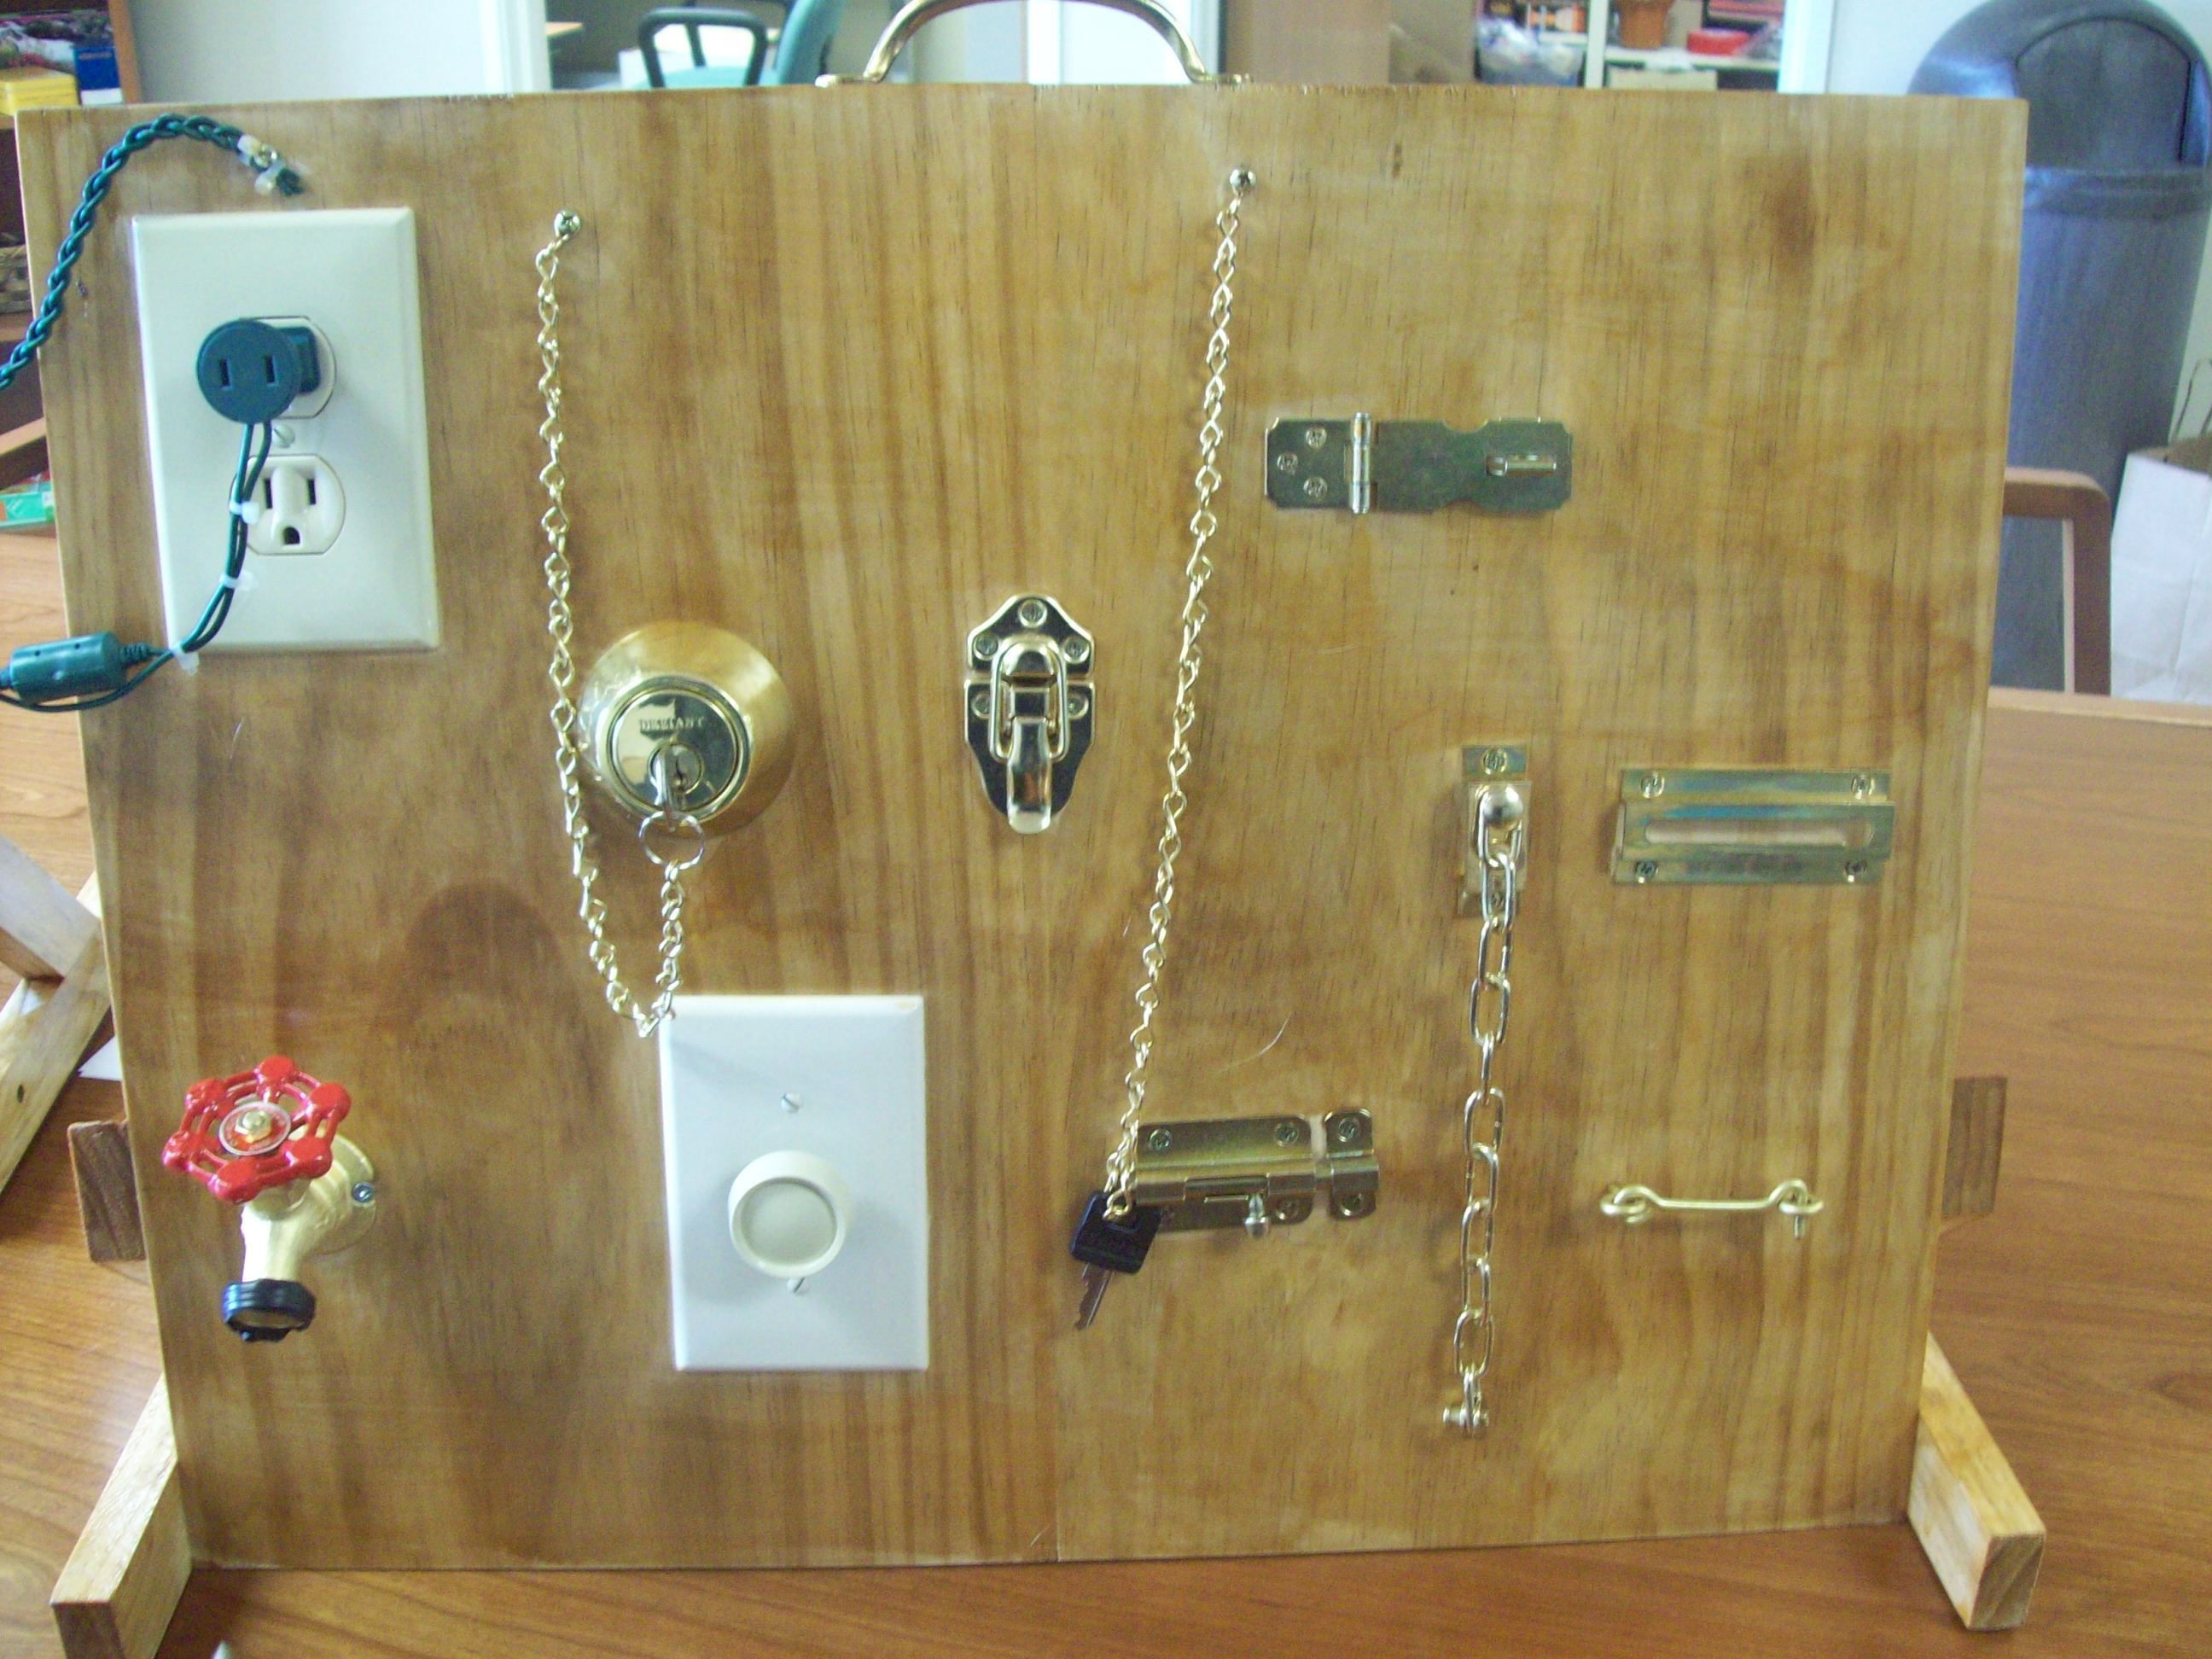
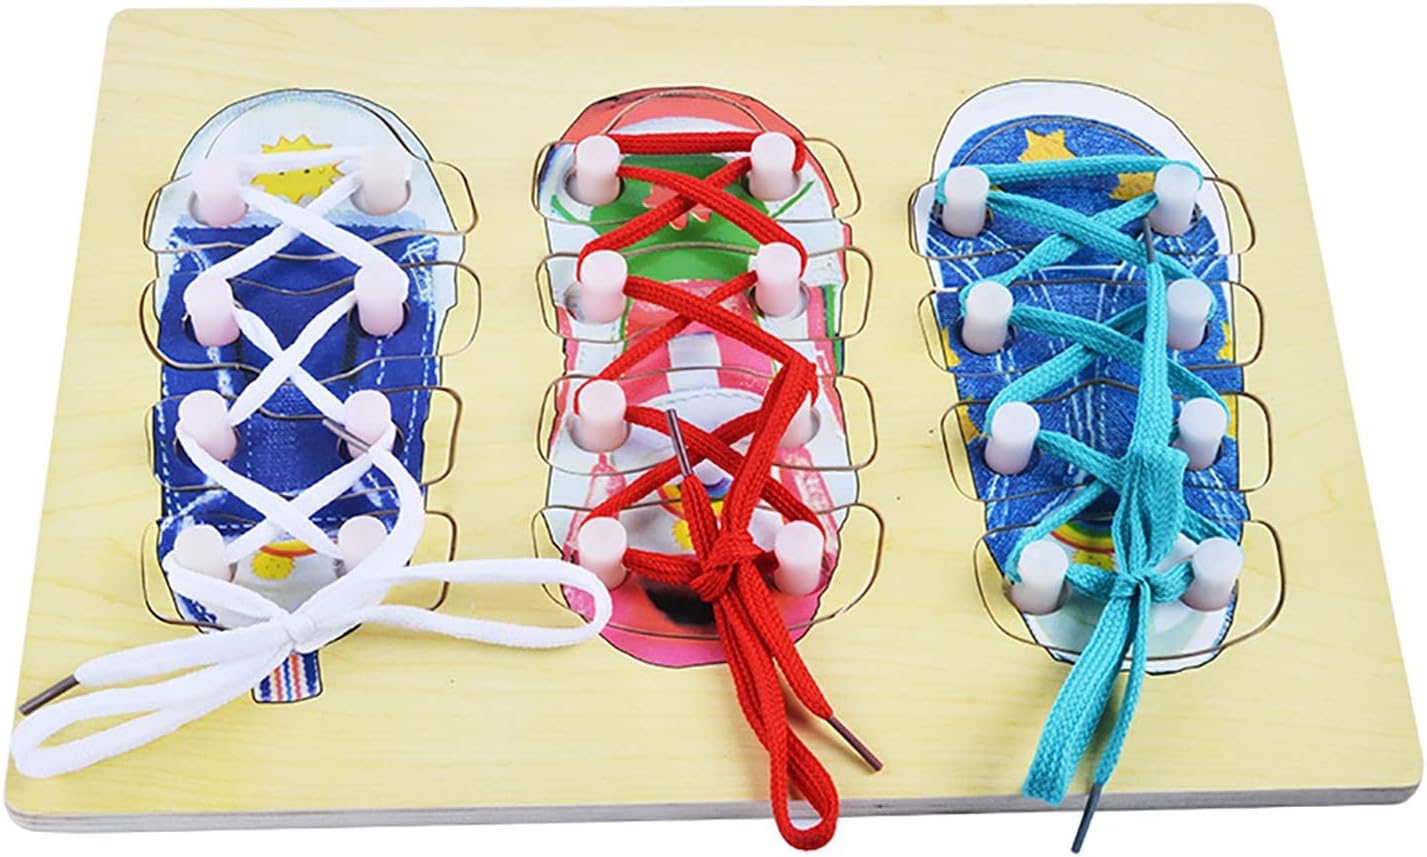
For those unfamiliar with the concept, busy boards (or sensory boards) are interactive boards filled with various materials that children can touch, manipulate, and explore. They’re designed to help develop fine motor skills, promote sensory awareness, and keep kiddos entertained for hours. The beauty of a busy board is that it can be tailored to fit your child’s interests and developmental stage, making it easy to create something unique and personalized!
>>>Buy now: Super Large Busy Board Custom Board
Why Dollar Tree?
Now, you might be thinking, “Why Dollar Tree?” The answer is simple! Dollar Tree is a treasure trove for budget-friendly craft supplies. From stickers and foam pieces to household items that can be repurposed, you can find everything you need without breaking the bank. Plus, it’s super fun to browse and see what intriguing goodies you might discover. Trust me, there are tons of hidden gems waiting to be transformed into creative projects.
Gathering Your Materials
Before you dive in, let’s make a quick shopping list of what you’ll need from Dollar Tree to get started:
- Base Board: Look for a sturdy piece of wood or a large plastic cutting board. You want something thick enough that it won’t bend.
- Fasteners: Grab a variety of hooks, latches, and locks that can provide a tactile experience.
- Textured Items: Consider using small rugs, sponges, or fabric samples for interesting textures.
- Moving Parts: Look for toy cars, wheels, or door knockers to create fun mechanisms to play with.
- Colors and Shapes: You might find foam shapes, colored paper, or stickers to add some flair and stimulate visual senses.
- Art Supplies: Make sure to grab some glue, scissors, and tape for assembly!
- Miscellaneous Items: Don’t overlook things like small mirrors, bells, or even kitchen utensils that can spark creativity.

Getting Creative: The Construction Process
Alright, it’s time to get down to business! Here’s how you can assemble your Dollar Tree busy board:
- Plan Your Layout: Before gluing or attaching anything, lay out your items on the board. Consider the overall aesthetics and how children might interact with different elements. This is your chance to let your creativity shine! Think about balance and visual appeal as you arrange items.
- Secure the Base: If you’re using a wooden board, make sure it’s sanded down to avoid splinters. For a plastic board, a good wash will do the trick. Once your base is clean, it’s time to attach your items!
- Attach Your Items: Use glue or screws (depending on the heaviness and type of the item) to secure all the different pieces you’ve chosen. For example, latches can be screwed on, while lighter items can be adhered with strong craft glue. Just remember to give it enough time to dry before moving on to the next step.
- Add Textures and Colors: Play around with different textures and colors. Attach some fabric swatches or sponges for sensory exploration. You can glue down brightly colored foam or use stickers to create visual interest.
- Interactive Elements: Include moving parts! For instance, attach a toy car that can roll along a track you draw with markers, or add a door knob that kids can twist and turn. The possibilities are endless!
- Finishing Touches: Once everything is attached and securely dried, take a step back and look at your masterpiece! Add any final touches like decorations or embellishments to personalize the board.
- Clean Up and Play: After your busy board is completed, make sure to clean up your workspace and then set it up in a safe area for play. You now have a delightful, interactive toy that will keep little ones engaged!
Tips for Enhancement
- Age Appropriateness: Make sure the items you choose are safe for your child’s age group. Avoid small pieces that could be a choking hazard for little ones.
- Seasonal Themes: Consider changing out some items seasonally for added excitement. A fall theme with leaves and pumpkins can spice things up as the weather changes!
- Regular Updates: Kids can get bored, so try to regularly update your busy board with new items to keep the experience fresh and exciting!
- Engage Together: Play alongside your child. This encourages bonding and helps reinforce new skills. Plus, it’s a great way to spend quality time together!
>>>Read more: Why Every Child Needs a Montessori Wooden Busy Board?

Why Busy Boards Rock
Not only are busy boards an enormous hit with kids, but they also serve multiple developmental purposes. By exploring different textures, they refine their motor skills, learn cause and effect through interaction, and develop problem-solving skills. Plus, let’s be honest, they’re just plain fun!
So, what are you waiting for? Grab your shopping list, head to Dollar Tree, and unleash your inner crafter. Whether you’re designing a busy board for your child, a special gift, or a fun classroom project, this DIY activity is sure to bring smiles and joy for hours on end! Happy crafting! 🌟
