Blog
Dive Into the World of Sensory Boards in Montessori Education
Hey there, fellow parents, educators, and lifelong learners! Today, we’re diving into the colorful and tactile universe of sensory boards in Montessori education. If you’ve ever walked into a Montessori classroom, you probably noticed the rows of unique materials that invite children to explore, learn, and play. One of the unsung heroes in this educational setup is the sensory board. Not only are these boards a feast for the eyes, but they also serve a myriad of developmental needs for our little ones. So let’s dig in, shall we?

What Exactly Is a Sensory Board?
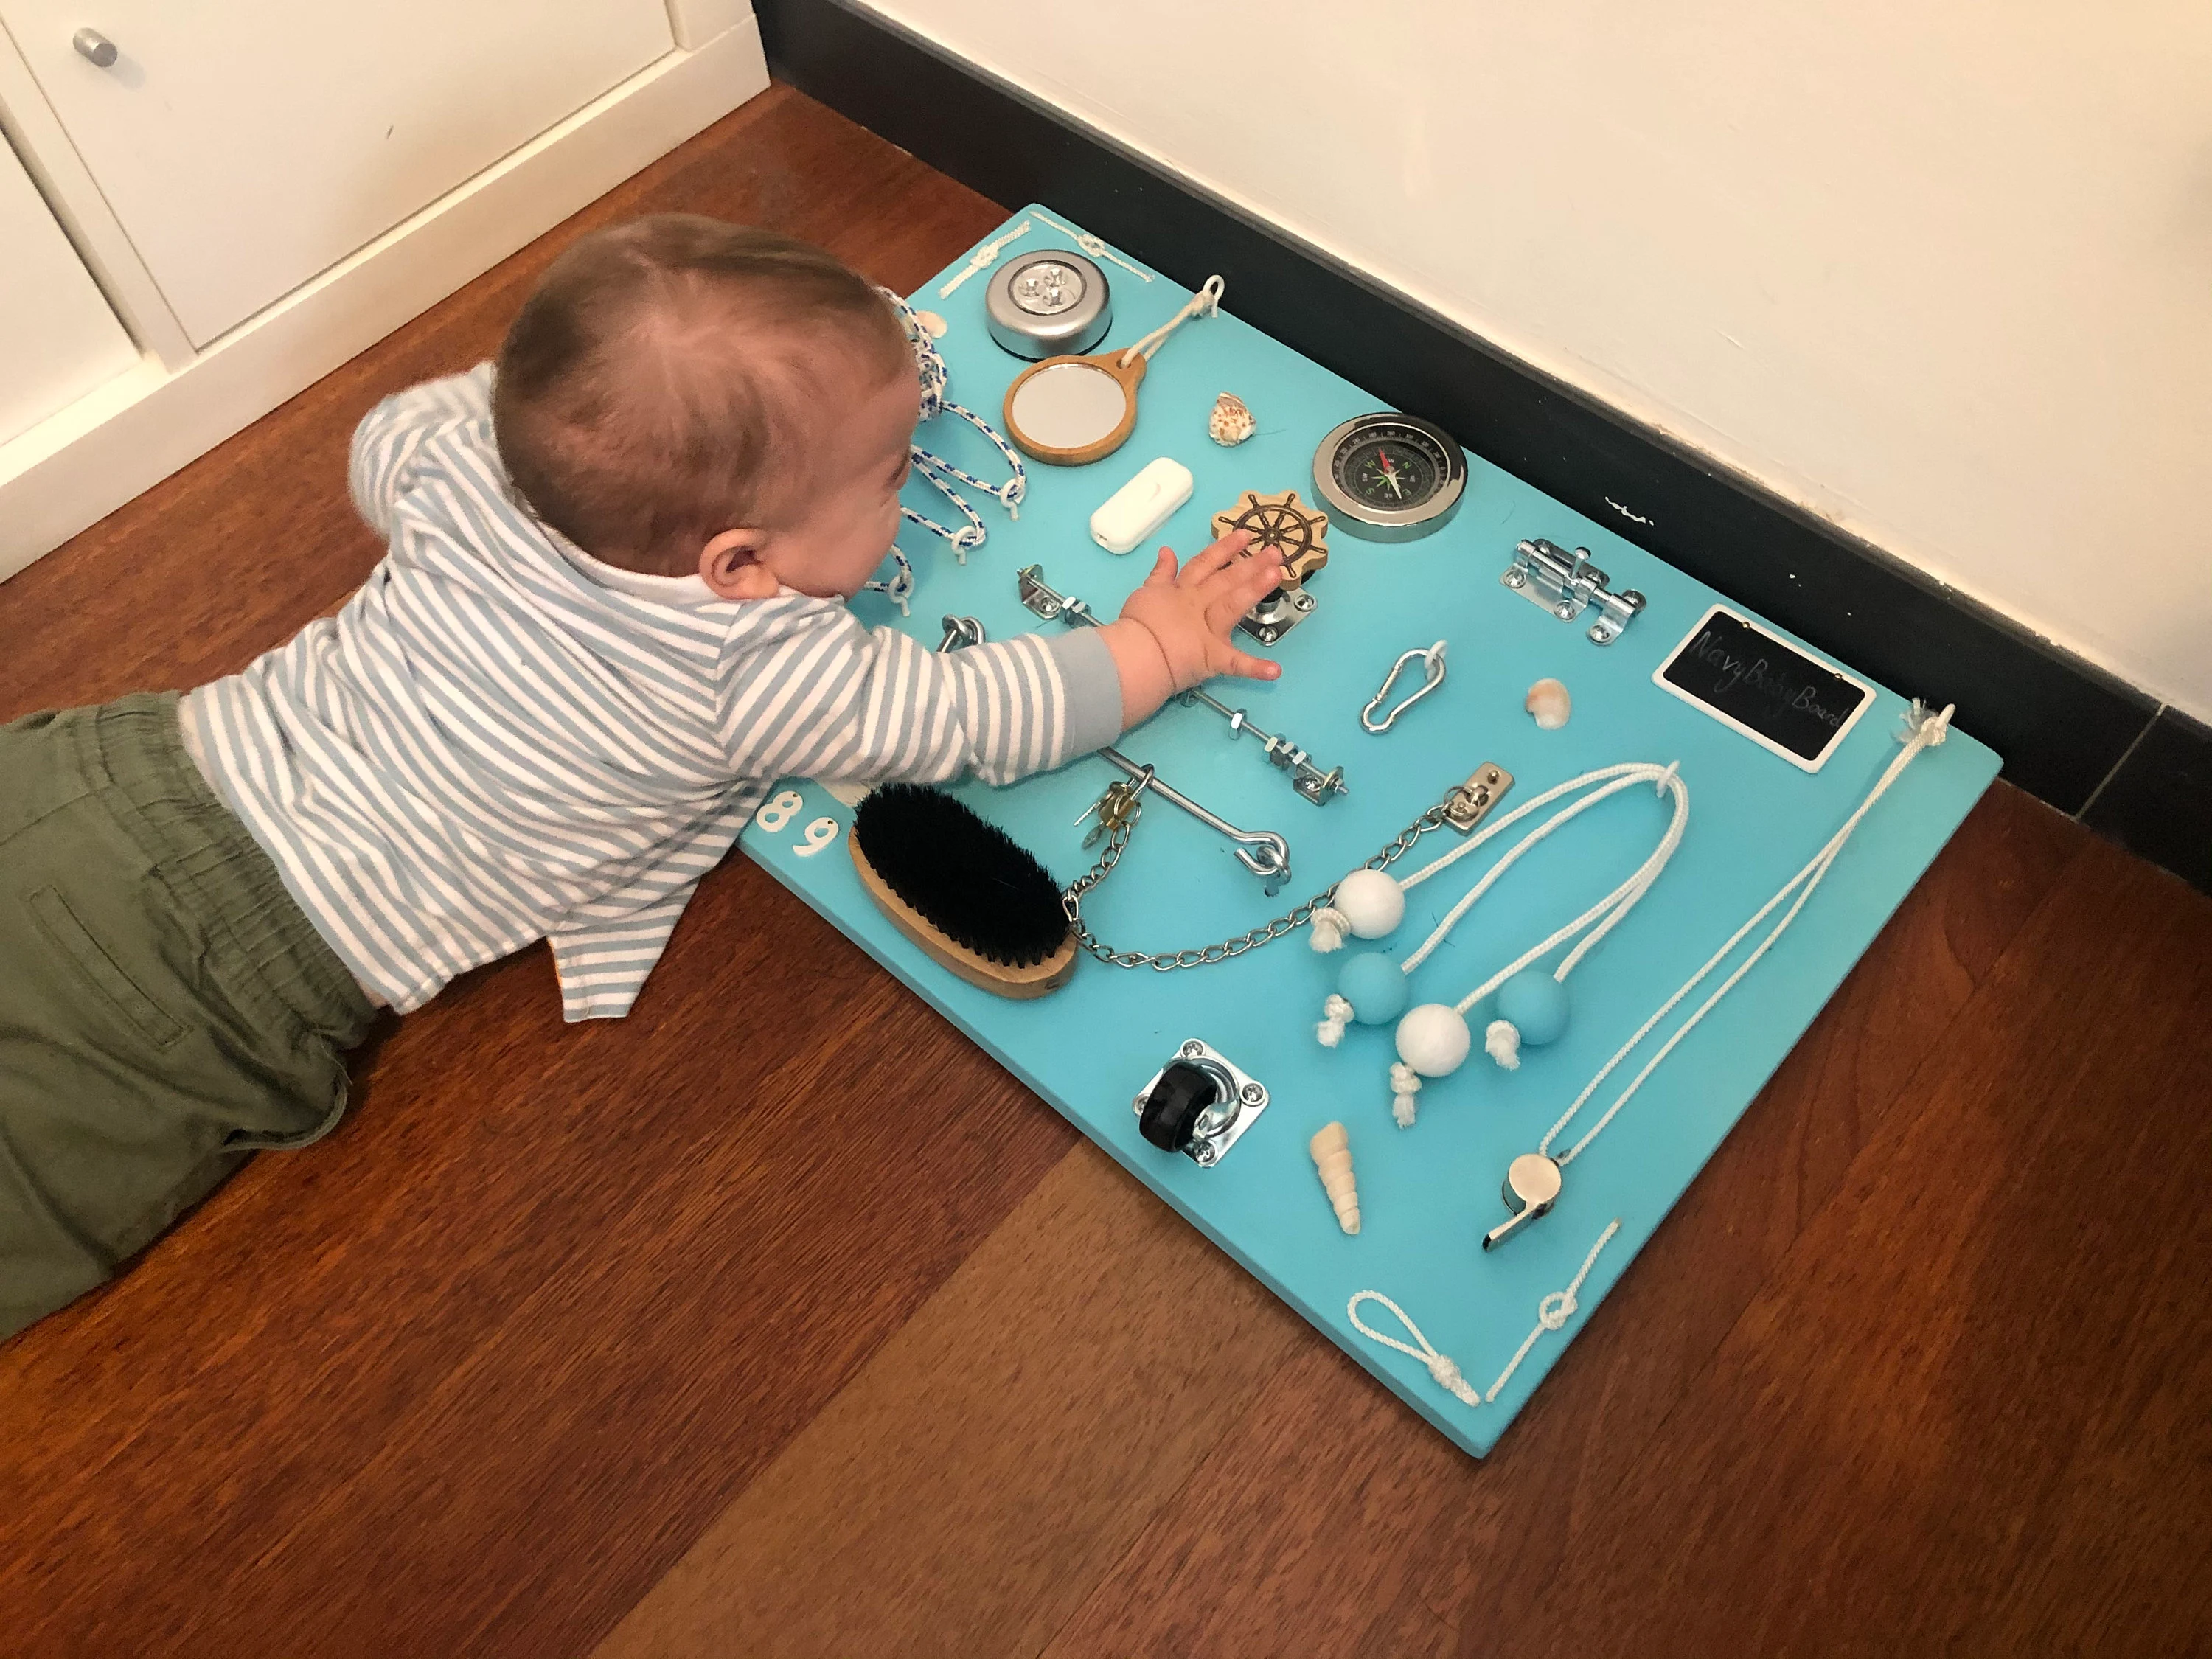
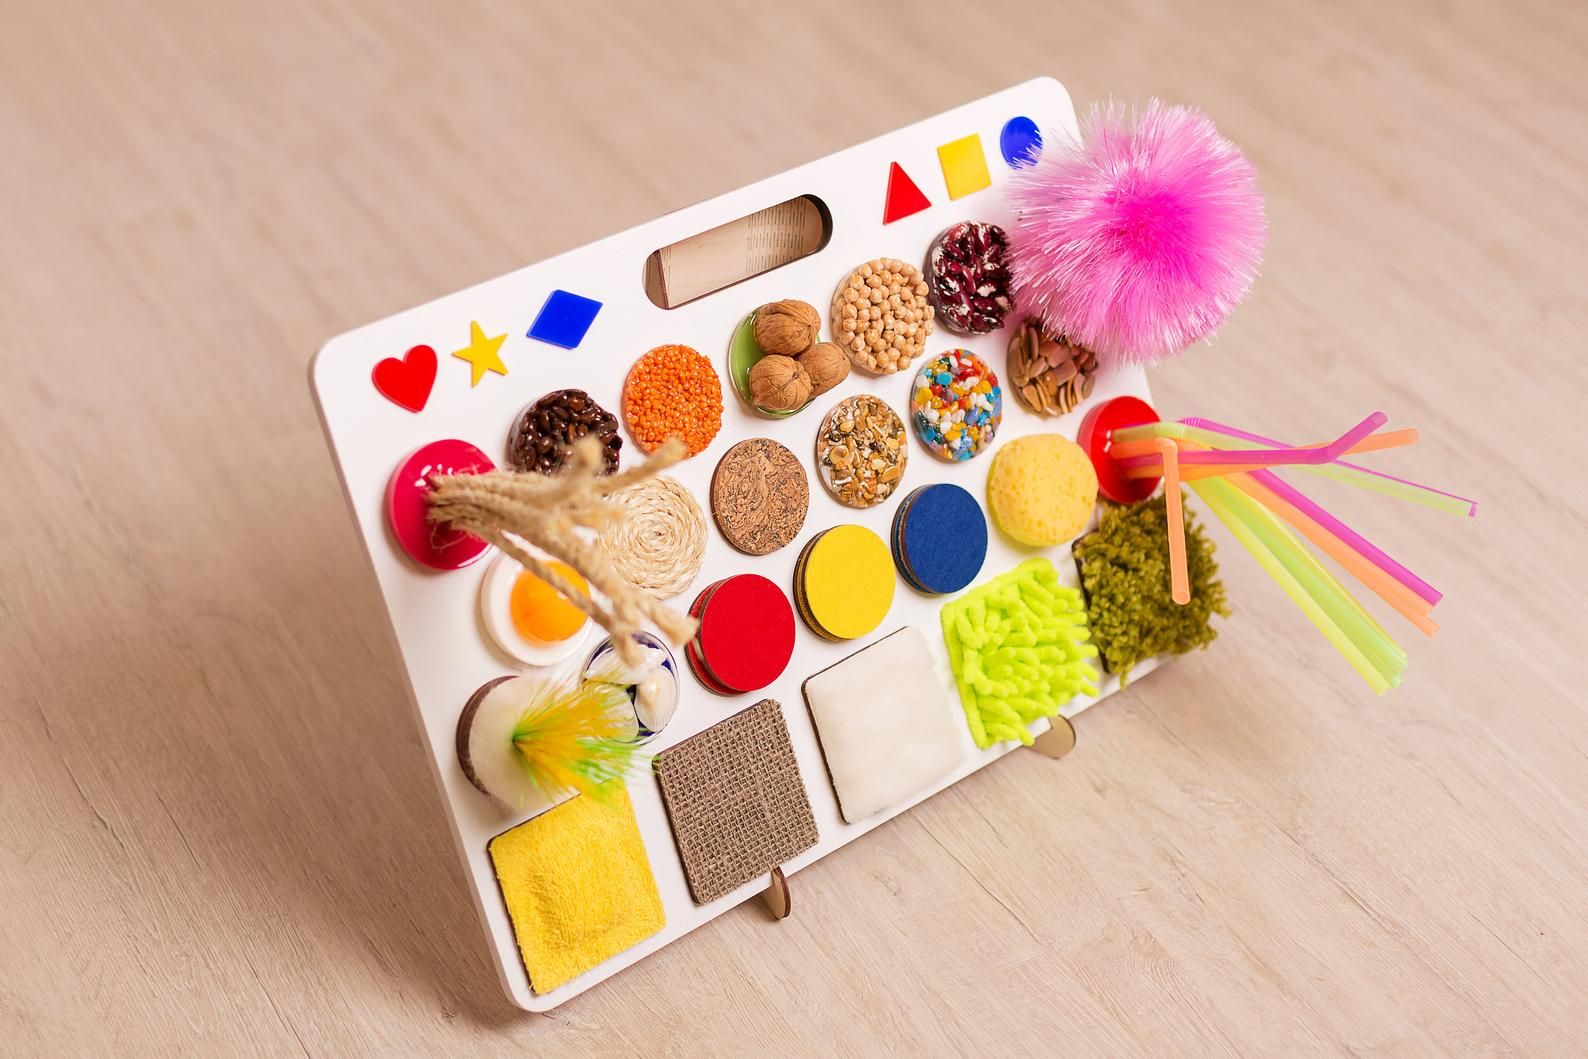
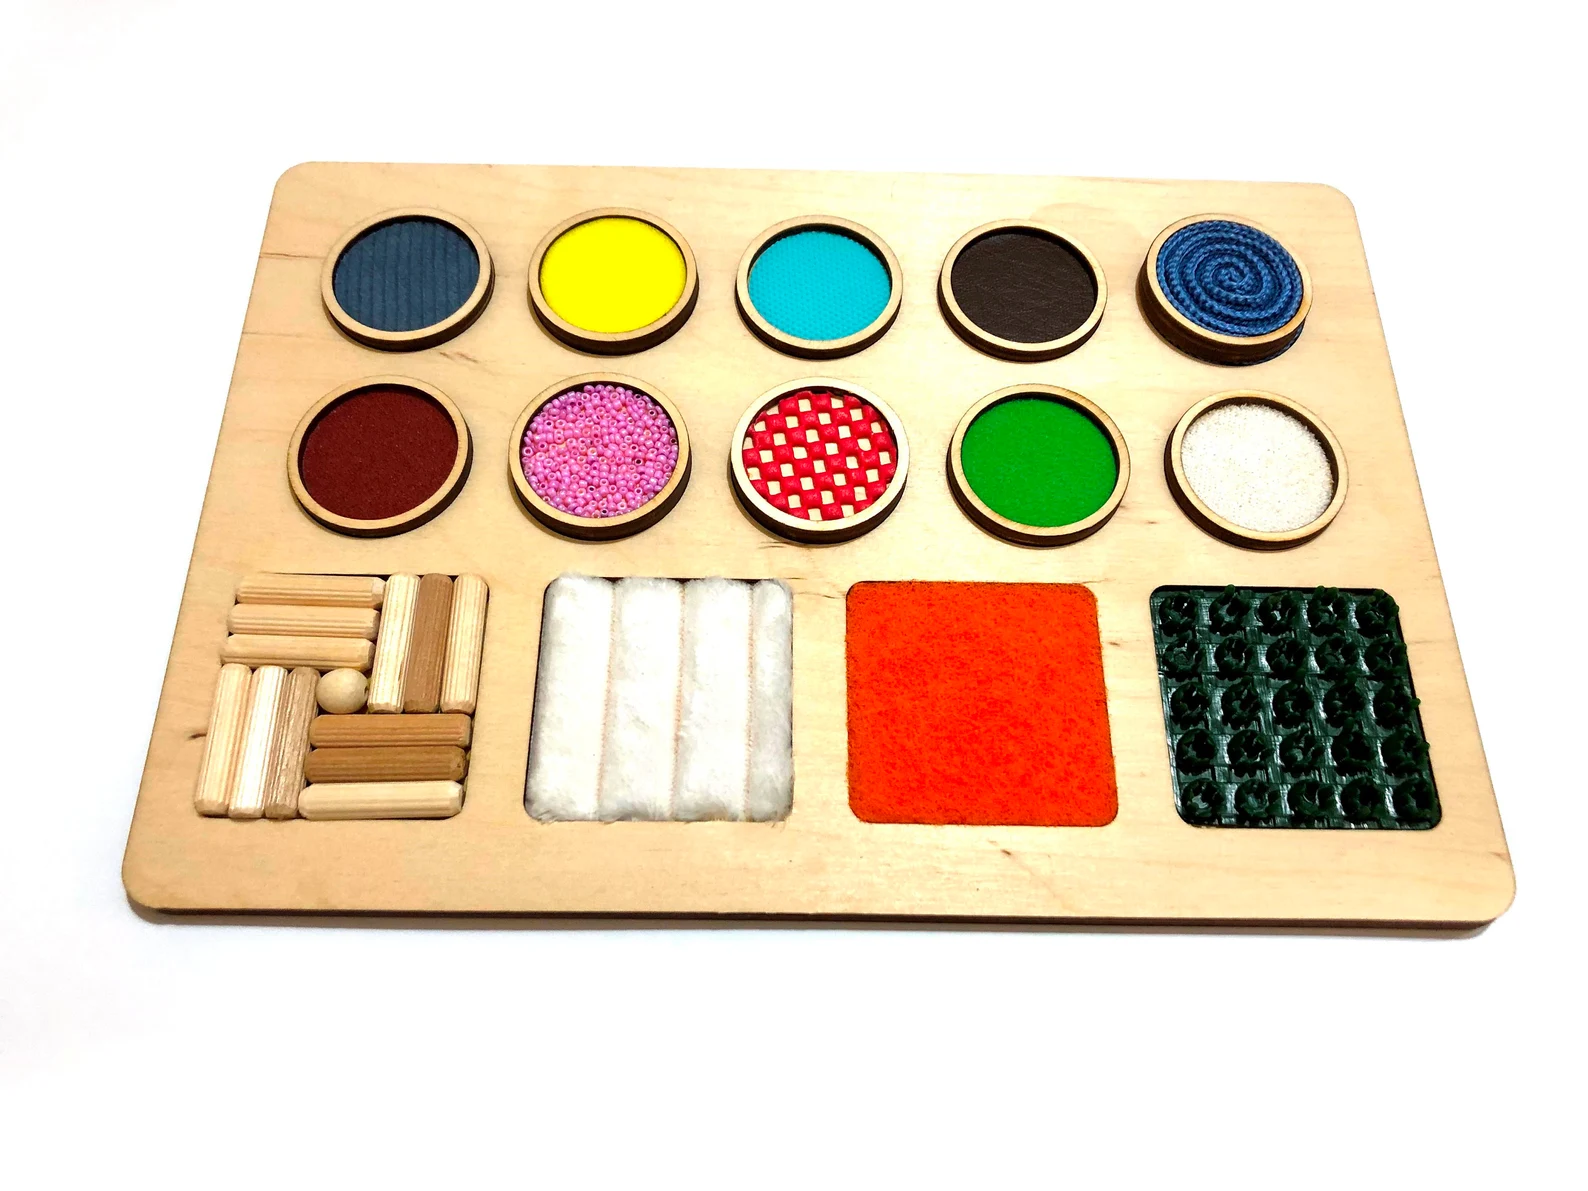
First things first, what is a sensory board? At its most basic, a sensory board is a flat board (usually made of sturdy material) that features various textures, colors, and objects designed to engage a child’s senses. Think of it as a mini-exploration station where curious hands can touch, pull, twist, and manipulate different elements.
You might find textures ranging from smooth and soft to bumpy and rough, alongside objects that make sound, allow for mobility (think wheels and buttons), or provide visual stimulation. The beauty of a sensory board lies in its versatility; it can be tailored to suit the varying interests and developmental stages of children.
Why Incorporate Sensory Boards in Montessori Education?
So why should we care about sensory boards? Well, if you’re familiar with Montessori education, you’ll know that it emphasizes hands-on learning and child-led exploration. Sensory boards are perfect for this. Here’s why:
- Promoting Sensory Development
During the early years, a child’s senses are rapidly developing. Sensory boards are filled with assorted materials that invite children to explore texture, sound, color, and even smell. This hands-on interaction boosts sensory development, which is fundamental in helping kids make sense of the world around them.
- Fostering Fine Motor Skills
Let’s face it—kids have to build those tiny muscles in their hands for everything from writing to buttoning shirts! Interacting with a sensory board allows children to strengthen their fine motor skills. Activities like twisting knobs, flipping levers, or exploring zippers engage these crucial movements in a playful way.
>>>Read more: Unlock Your Child’s Motor Skills with a Fun Montessori Activity: Pom Poms
- Enhancing Focus and Concentration
Montessori education thrives on self-directed, focused activities. A sensory board can captivate a child’s attention for long periods, allowing them to delve deep into exploring its components. As they engage, they are learning to concentrate and focus, key skills that benefit all areas of their education.
- Encouraging Problem-Solving and Critical Thinking
Sensory boards often involve elements that require manipulation. Children will find themselves having to think critically about how things work together. Whether it’s figuring out how to attach a hook or solving how to open a latch, each interaction encourages problem-solving skills that will come in handy throughout life!
- Supporting Emotional Regulation
For many children, sensory play can be a therapeutic experience. Engaging with different textures and elements can calm an overwhelmed child or redirect restless energy. In this way, sensory boards can become a vital tool for emotional regulation, giving children a safe space to explore their feelings.

Designing Your Own Sensory Board
After all this talk about the benefits of sensory boards, you might be itching to create one for your little one. Here’s a step-by-step guide for crafting your own sensory board that aligns with the principles of Montessori education:
Step 1: Gather Materials
Start by sourcing a sturdy board as the base (think plywood, cardboard, or even a large piece of canvas). Then, collect a variety of objects that vary in texture, sound, and movement. Items like:
- Fabrics: Velcro, fur, silk, and corduroy
- Natural elements: Pinecones, leaves, and stones
- Toys: Buttons, caps, locks, and latches
- Sound elements: Bells, shakers, or any small instrument
- Visual components: Mirrors, colorful paper, or pictures
Step 2: Create a Layout
Before attaching anything, play around with the layout of your objects. Consider the age and interests of your child when arranging items. You want the board to be engaging but not overwhelming. The idea is to encourage exploration without causing frustration.
Step 3: Secure Everything
Once you’re happy with the layout, start securing the materials onto the board using glue, screws, or an adhesive that suits your chosen materials. Ensure everything is safe and won’t come off easily during playtime.
Step 4: Personalize It
Add a personal touch by including your child’s name, favorite colors, or even themes they are passionate about. Personalization makes the sensory board uniquely theirs, encouraging more engagement.
Step 5: Introduce It!
Once your sensory board is complete, present it to your child! Show them each element and how to interact with it. It’s also essential to step back and let them explore at their own pace. Celebrate their engagements and discoveries; this can ignite a deeper interest in learning!

Wrap-Up
Incorporating a sensory board into a Montessori education approach opens up a world of exploration for children. It nurtures sensory development, improves fine motor skills, fosters problem-solving abilities, and helps kids regulate their emotions—all while they’re having a blast! Whether you decide to create your own or seek out a commercially available option, sensory boards are worth the investment—financially and emotionally.
So go ahead! Tap into that creative side and build a sensory board that brings joy, exploration, and learning right into your home or classroom. Happy crafting, and cheers to the little learners who will delight in their sensory adventures!
