
Blog
Easy DIY Homemade Busy Board: A Fun Project for Kids and Parents!
Oct
Hey there, crafty friends! 🌟 If you’re a parent, caretaker, or simply someone who loves to get creative, you’ve likely come across the term “busy board.” These fantastic little creations are more than just projects; they provide hours of entertainment for young minds while also encouraging fine motor skills, problem-solving, and sensory exploration. If you’re looking for an easy DIY project that engages your child and decorates your home, look no further! Today, we’re diving into how to create your very own homemade busy board that’s sure to be a hit with the kiddos.
What is a Busy Board?
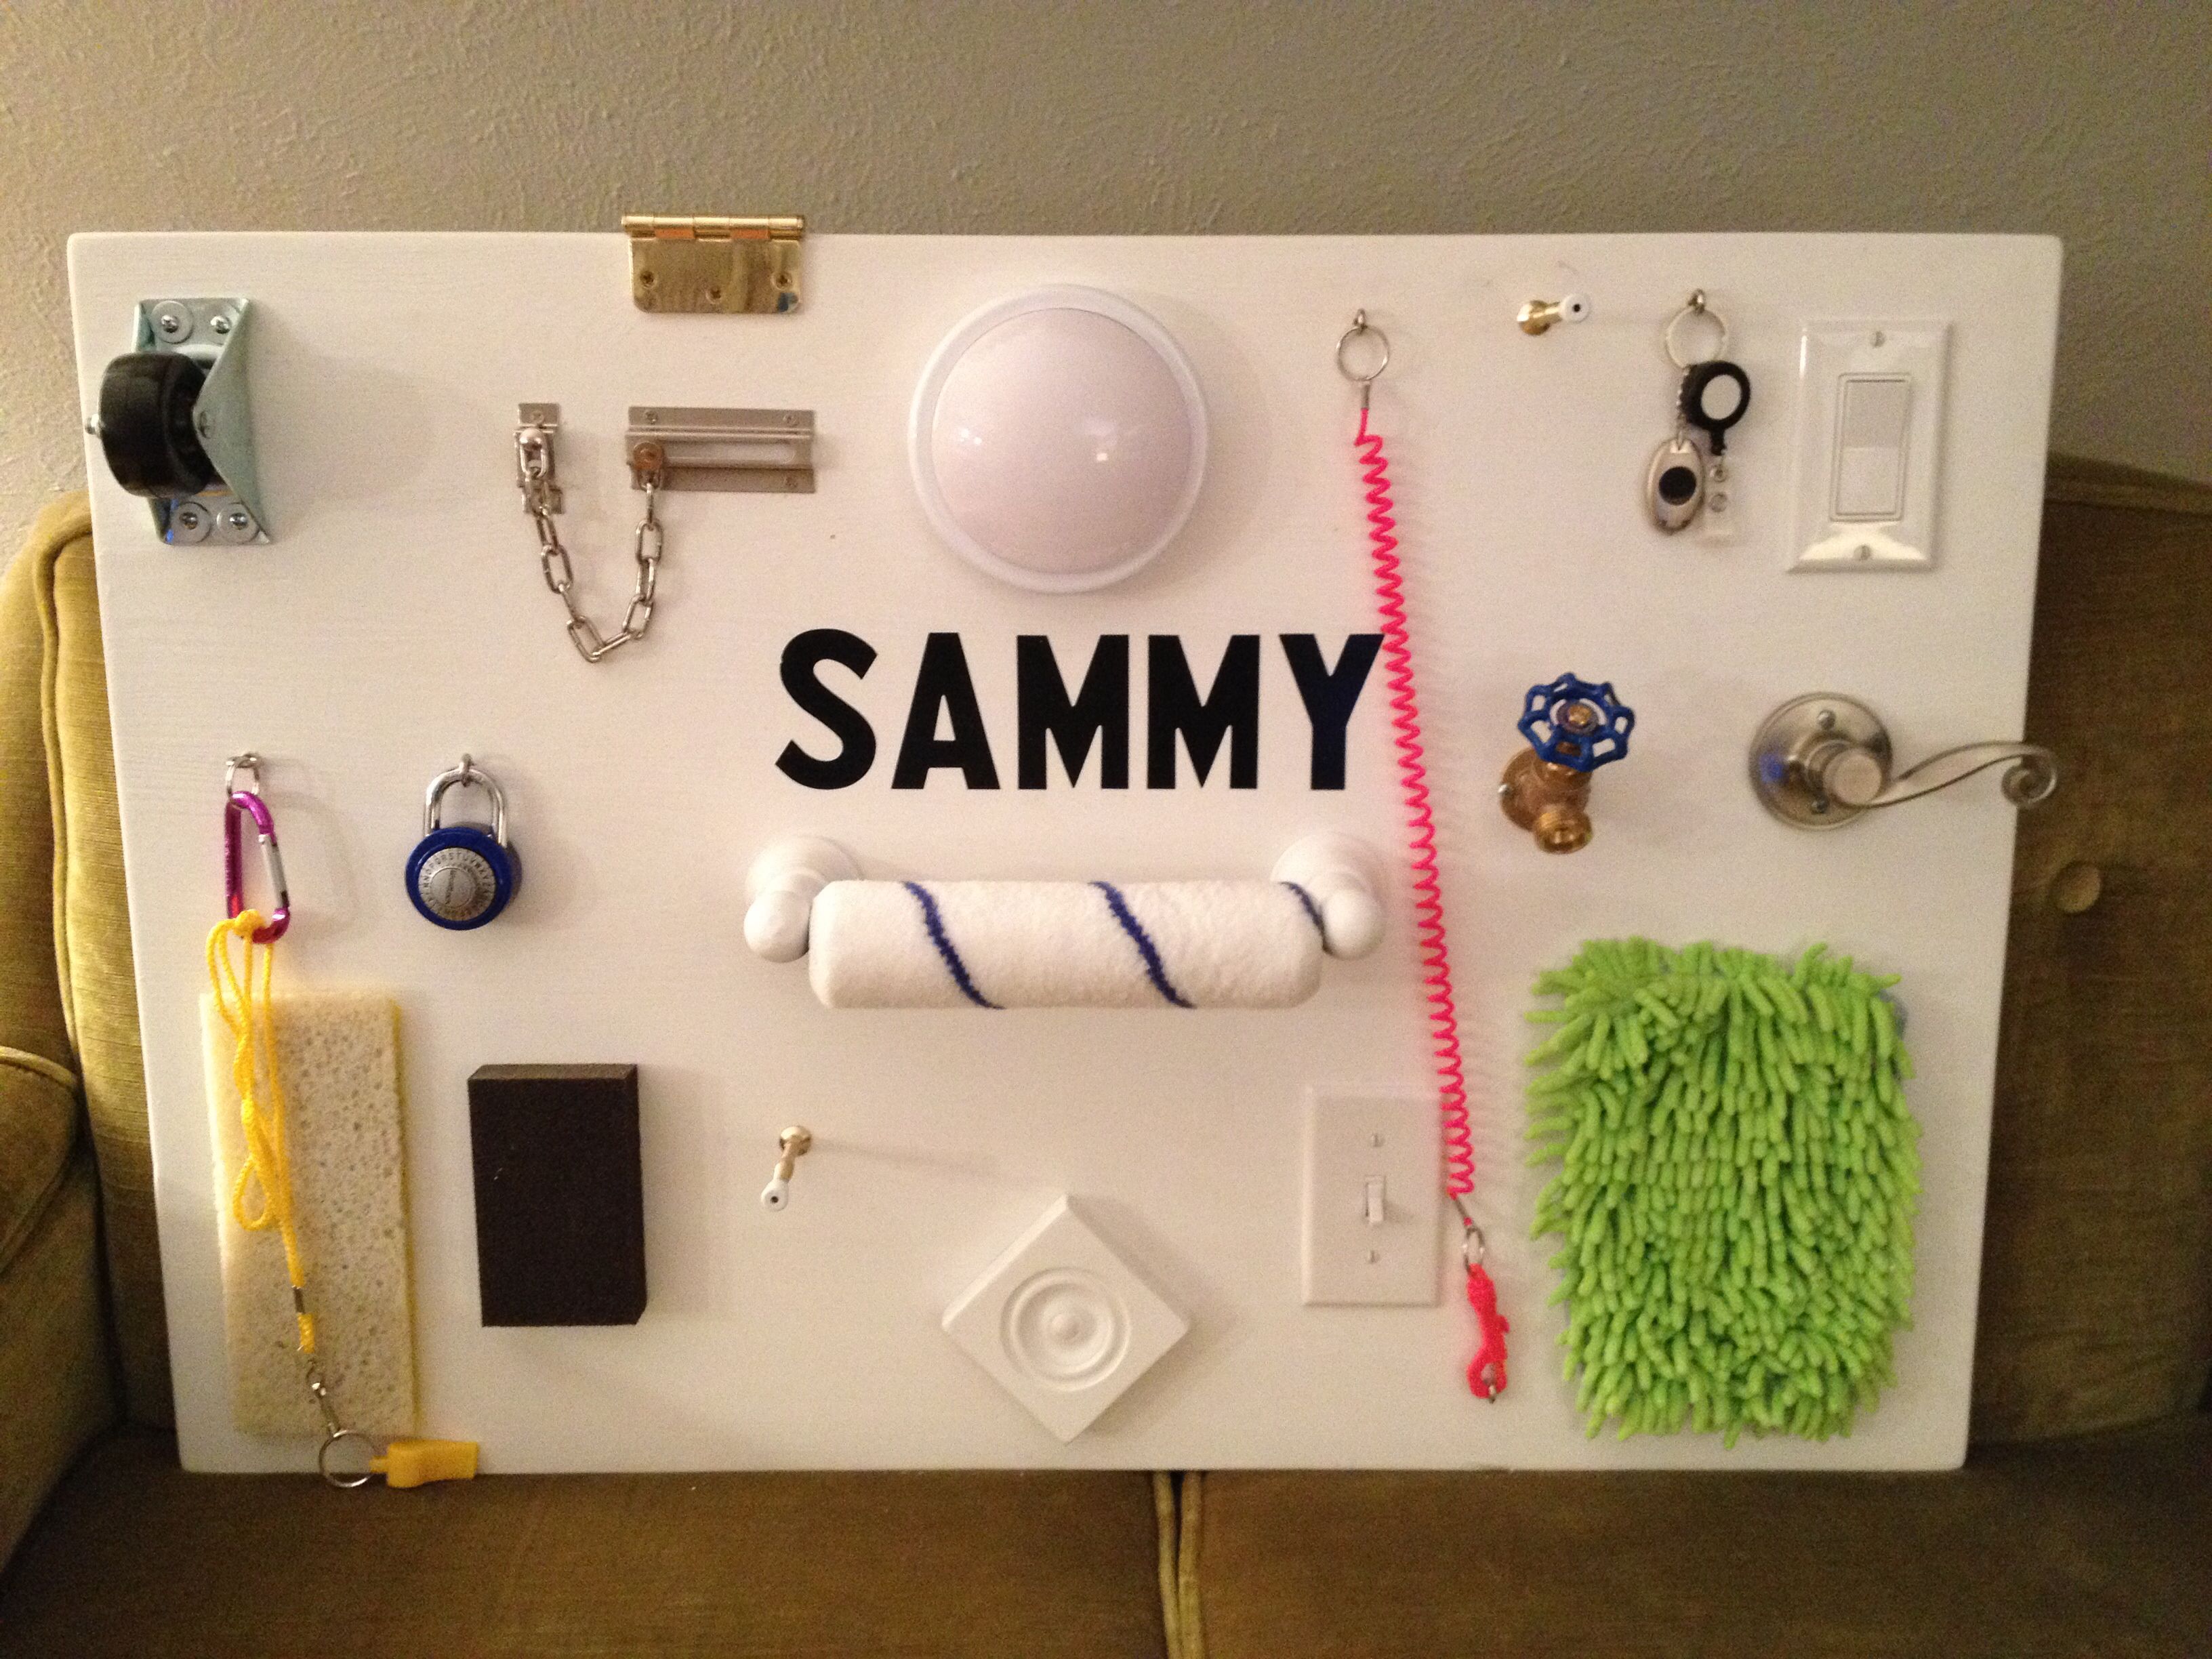
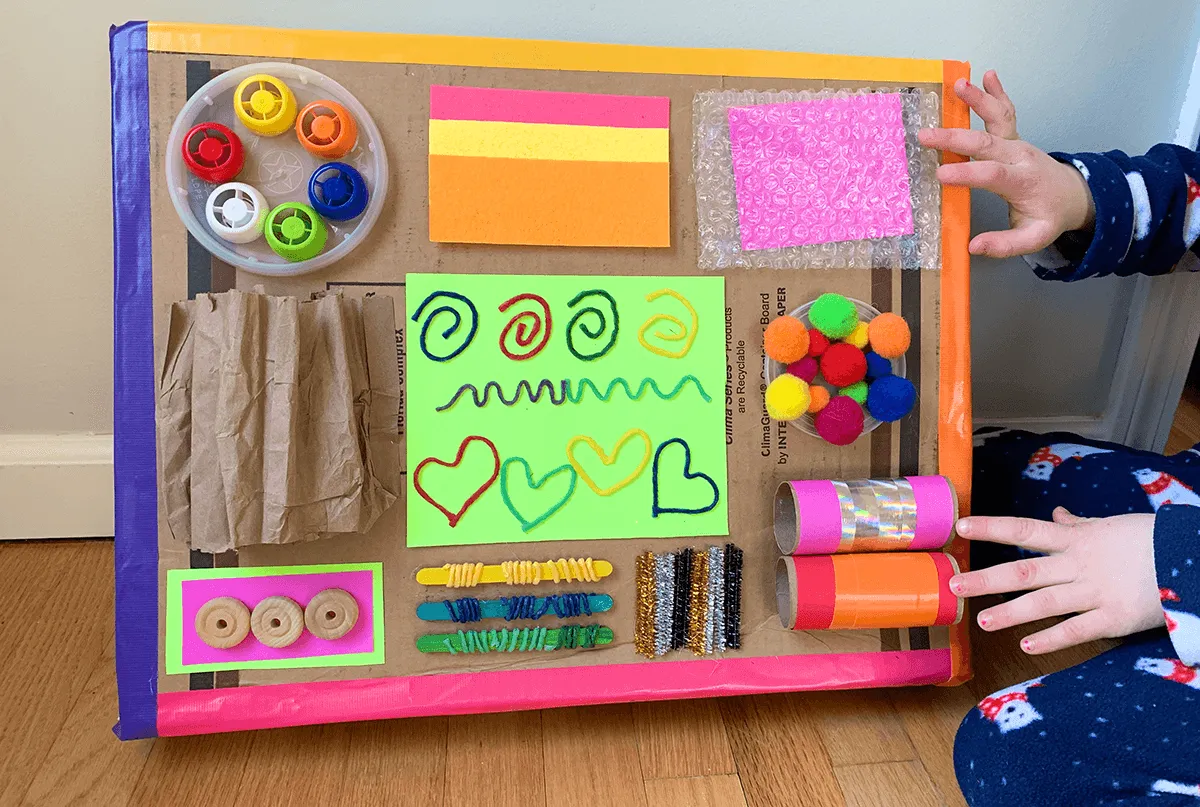
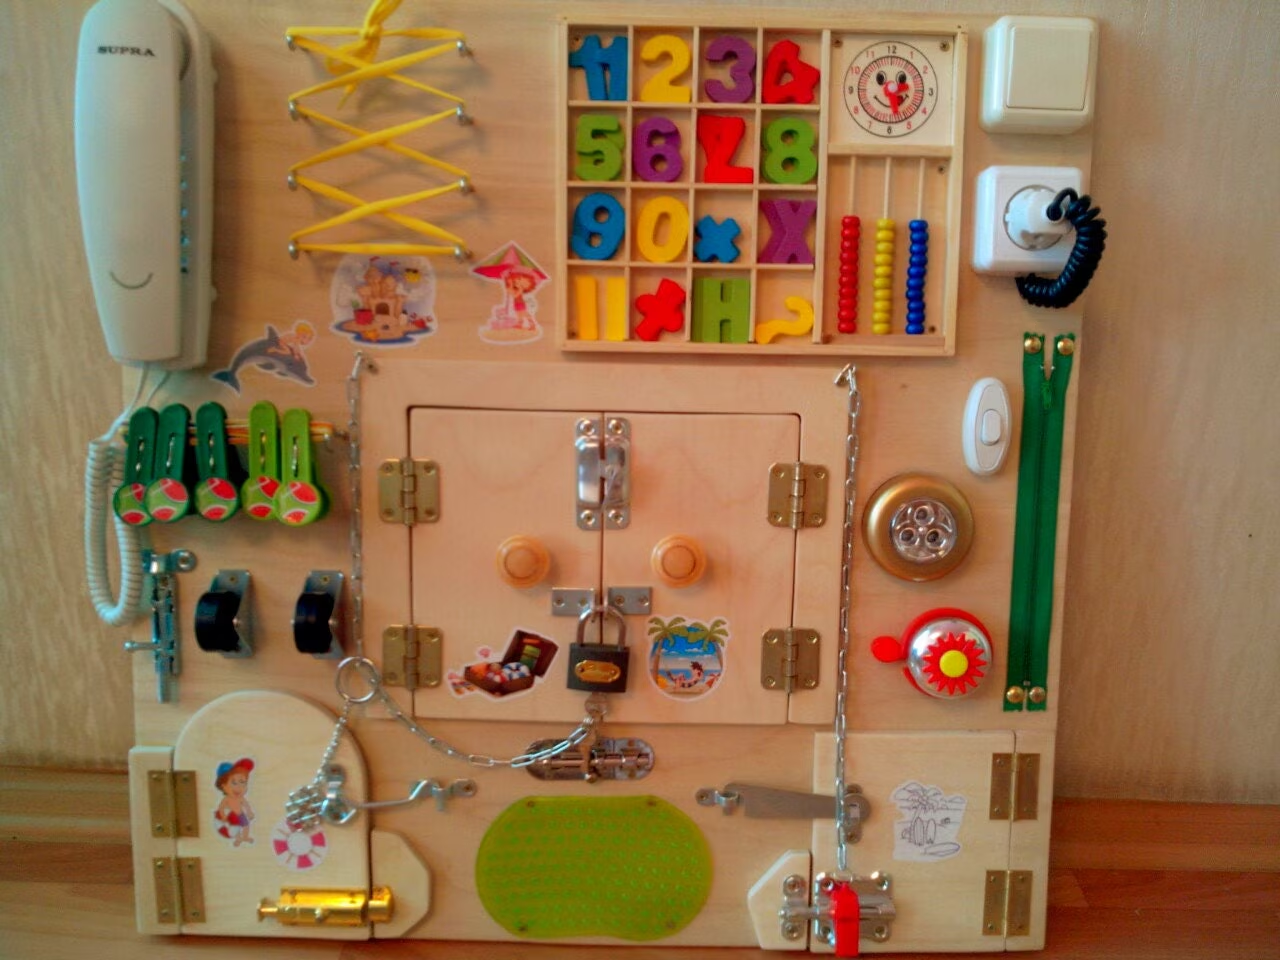
First things first, let’s break down what a busy board actually is. A busy board (or sensory board) is a tactile board filled with various activities and objects that kids can interact with. Think of it as a unique way for children to explore different textures, sounds, and functions, all in one playful station. You can include anything from buttons, locks, and latches to fabric swatches and mirrors. The sky’s the limit when it comes to what you can include!
Why Make One?
You might be wondering why you should bother making a busy board instead of just buying one. Great question! Here are some fantastic reasons to consider a homemade busy board:
- Personalization: You can customize it specifically to your child’s interests and developmental levels. Whether they love animals, cars, or science, you can reflect that in your design!
- Cost-Effective: Making your own can be significantly cheaper than purchasing a pre-made one, especially if you already have some materials at home.
- Quality Time: Building this together can be a wonderful bonding experience. Plus, your child will feel a sense of pride and ownership over their creation once it’s completed!
- Promotes Learning: Busy boards can help develop fine motor skills, hand-eye coordination, and even early math and problem-solving skills—all while having fun!
>>>Read more: Unlock Your Child’s Motor Skills with a Fun Montessori Activity: Gluing work
Materials You’ll Need
Before we get crafting, let’s gather our supplies. Here’s a list to get you started:
- Base Board: A piece of plywood or a sturdy cardboard is perfect.
- Sensory Items: This can include:
- Old keys or padlocks
- Different types of switches (light or electronic)
- Velcro strips
- Zippers
- Door handles
- Bells
- Buttons (from old clothing)
- Mirrors (safety mirrors work best)
- Colorful fabric swatches
- Nature items (pinecones, leaves, etc.)
- Adhesives: Hot glue gun, strong adhesive, or screws as appropriate.
- Paint/Sandpaper (optional): For a nice finish on the baseboard.
- Safety Gear: If you’re using tools, make sure to have safety goggles!
- Other Decorations: Stickers, washi tape, or anything else that can add flair.
Step-by-Step Guide to Creating Your Busy Board
Step 1: Choose Your Base
Select a board that suits your space. A piece of plywood around 2 feet by 3 feet is a good size, but you can adjust based on where you’ll display the busy board. Sand the edges a bit to make sure there are no rough spots that could hurt little hands.
Step 2: Plan Your Layout
Before gluing or screwing anything down, lay out your items on the board to see how they fit together. Try to balance the look with different shapes and colors, and consider practicality—make sure everything is easily accessible for tiny hands.
Step 3: Secure the Items
Once you’re happy with the arrangement, it’s time to start securing your items down! Use a hot glue gun for lighter items or screws for anything heavier that needs extra support. Make sure everything is firmly attached and safe for play.
Step 4: Add Finishing Touches
Now comes the fun part! Paint the board to make it lively, or leave it natural for a rustic look. You can also add stickers or other decorative elements to give it a personal touch. Just remember to avoid anything that could be a choking hazard.
Step 5: Safety Check
Before handing it over to your little one, do a thorough safety check. Ensure there are no sharp edges, loose parts, or small items that could pose a risk. If you’ve used mirrors or glass, make sure they are securely attached and safe for kids.
Step 6: Enjoy!
Now it’s time for the most rewarding part—introducing your child to their brand-new busy board! Take the time to explore it together, showing them how everything works. This will not only encourage their curiosity but also strengthen your bond as you both play and learn.
Maintaining Your Busy Board
Once your busy board is complete and your little one starts using it, you may want to keep a few things in mind:
- Regular Checks: Make sure to inspect it periodically to ensure everything remains secure and safe.
- Rotate Items: To keep the interest alive, consider rotating some of the items or even adding new ones as your child grows.
- Involve Them: Ask your child what they love most about the board and encourage them to help with any changes or additions!
Conclusion
Creating a DIY busy board is not only an enjoyable project, but it also yields an engaging and beneficial tool for your child’s development. These boards are a fantastic way to spark creativity while also providing your little one with a safe space to explore, learn, and grow. So roll up those sleeves, grab your supplies, and have fun crafting! You’re not just making a busy board; you’re making memories. Until next time, happy crafting! 🎨👶