Blog
The Ultimate Guide to Custom Busy Boards: Creativity Meets Developmental Play
Hey there, fellow parents, caregivers, and creative souls! If you’ve been hanging around the toddler parenting circles (and let’s face it, who hasn’t?), you might have stumbled upon the magical world of busy boards. Hold onto your craft supplies because we’re diving deep into the marvelous universe of custom busy boards!

What is a Busy Board?
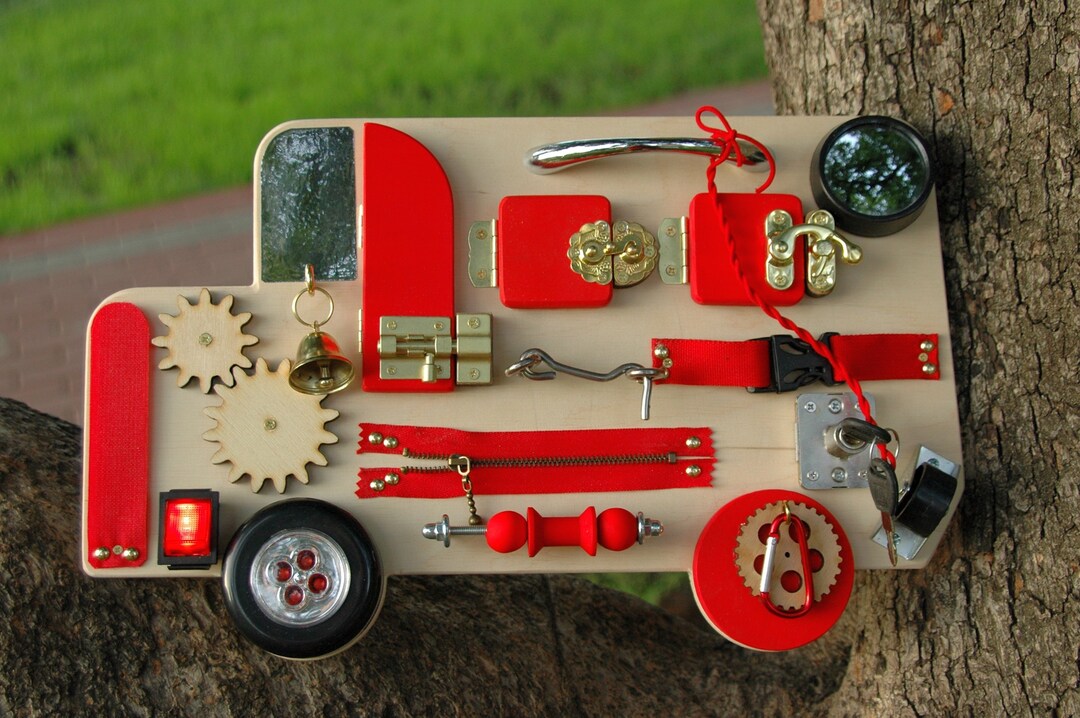
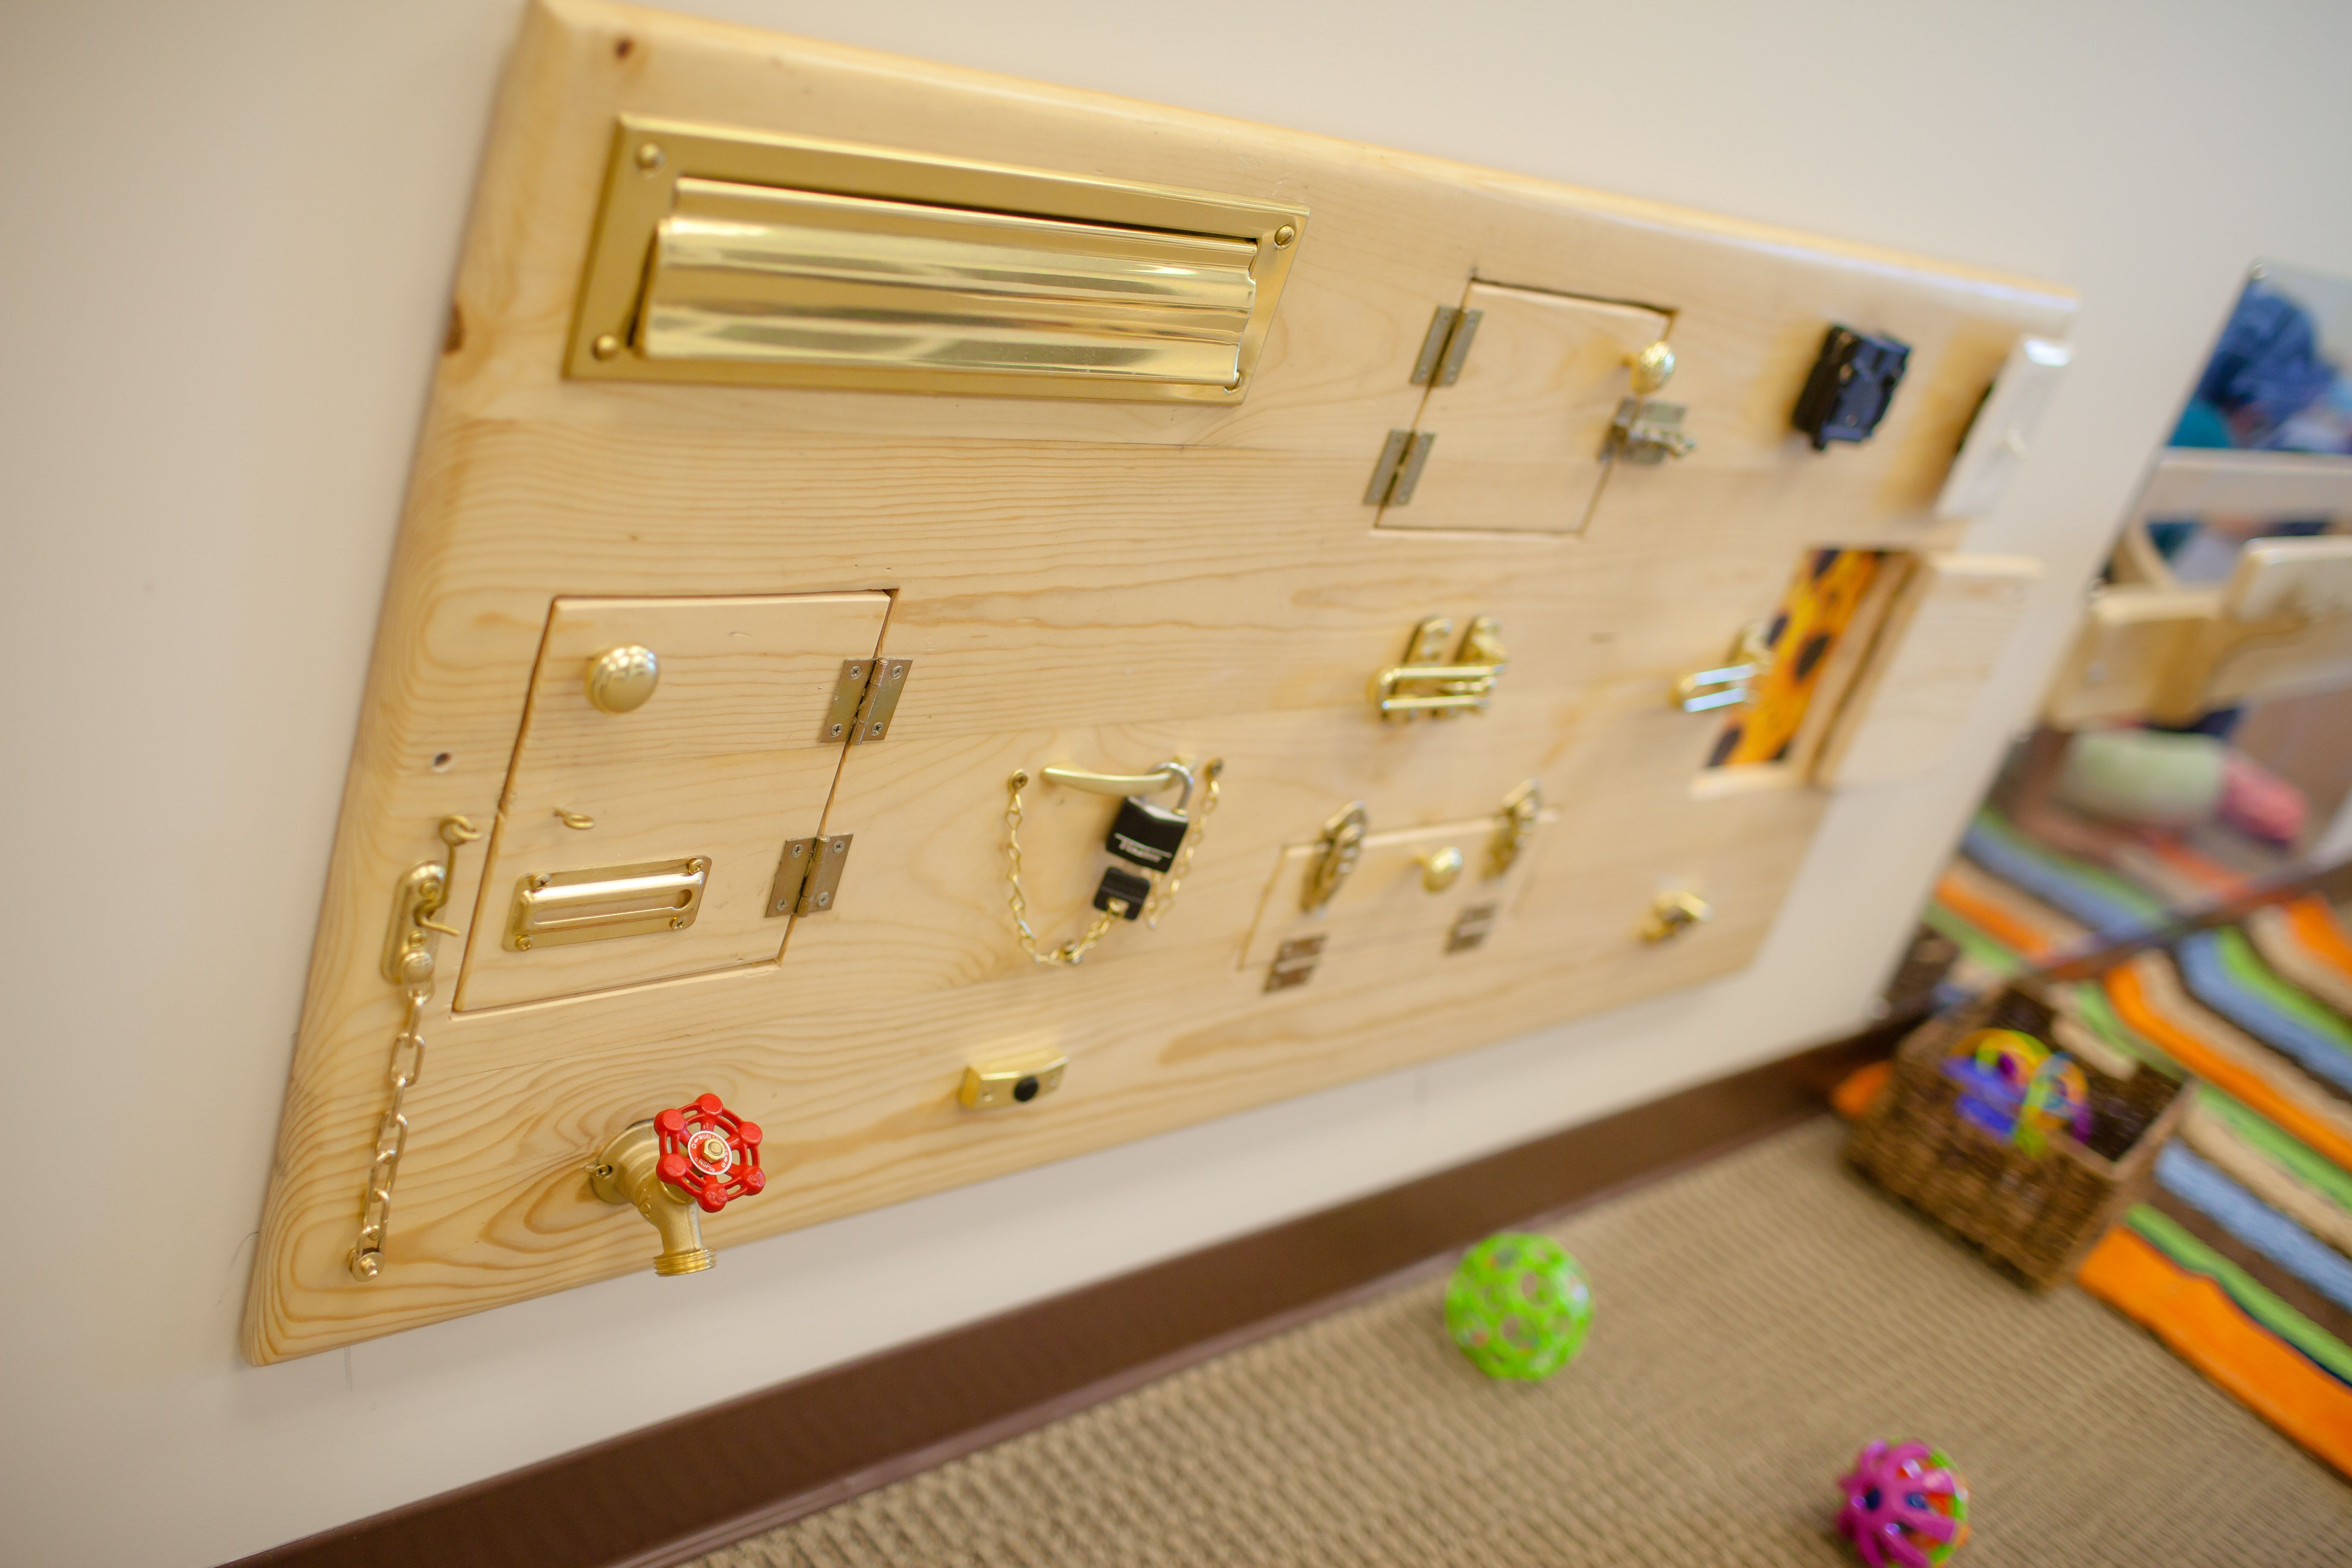
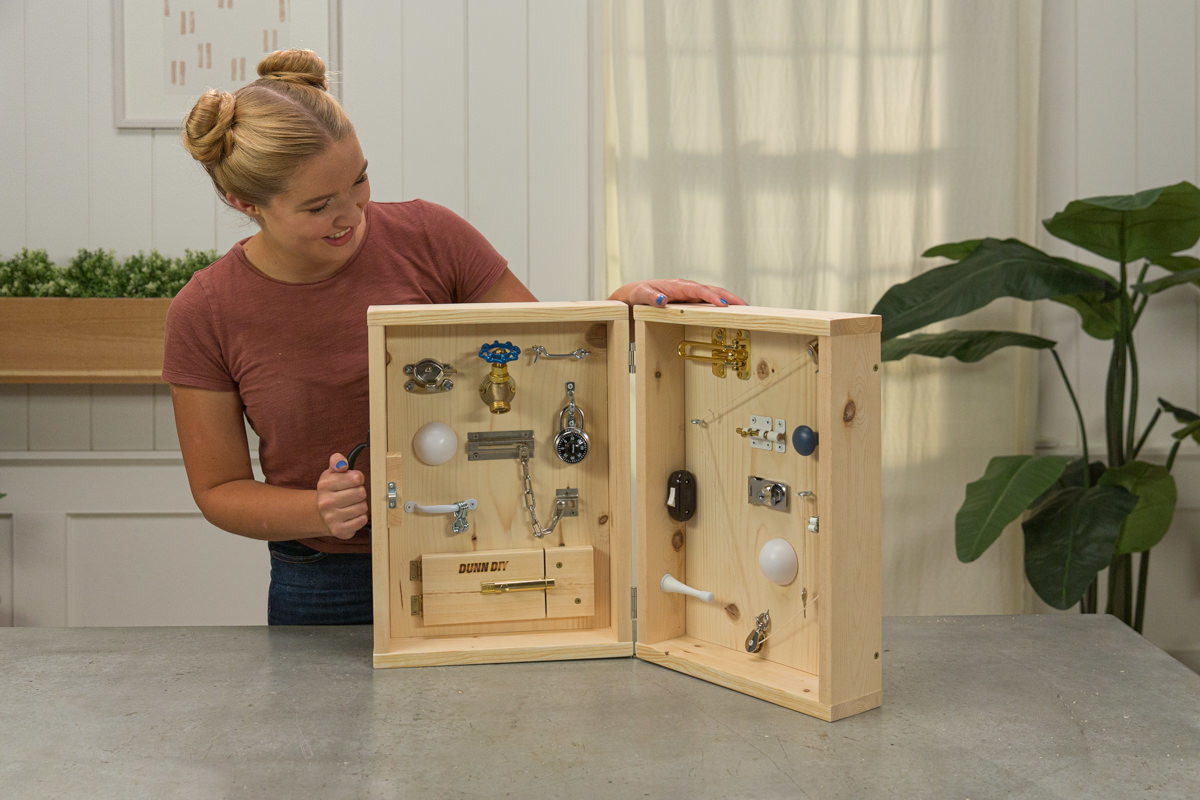
Before we get into the nuts and bolts of customizing your own busy board, let’s lay the groundwork. A busy board is essentially a tactile, sensory playground for little ones. Picture this: a sturdy board adorned with all sorts of buttons, locks, latches, and doo-dads that your children can explore and manipulate.
These boards are like magical portals of learning. They promote fine motor skills, enhance problem-solving abilities, and keep those tiny hands busy while stimulating creativity and curiosity. Not to mention, they can also buy you a moment of peace—like a personal babysitter that doesn’t mind being ignored while you enjoy that much-needed cold cup of coffee.
>>>Buy now: Busy Board Baby Girl Gift Montessori Board
Why Custom Busy Boards Rock
Now, you might wonder: “Why should I bother making a custom busy board when there are plenty of pre-made options?” Great question! Here are a few reasons why creating a custom busy board might just be the best parenting decision you make all year.
1. Personalization
Every kid is unique, and that goes for their interests and developmental needs too. By designing a custom busy board, you have complete control over what materials and activities to include. Is your little one obsessed with everything related to vehicles? Load that board up with steering wheels, traffic lights, and road signs. Crafting a busy board that resonates with their hobbies makes it that much more engaging!
2. Budget-Friendly
Sure, there are tons of stunning busy boards available for purchase, but they can also come with hefty price tags. Making your custom busy board can be a fun DIY project that saves you a chunk of change. Plus, there’s nothing quite like the satisfaction of crafting something with your own two hands—and you can sprinkle in thrift store finds, upcycled materials, or leftover crafting supplies for a budget-friendly masterpiece.
3. Family Bonding Time
Creating a busy board isn’t just a solo endeavor—this is a prime opportunity for family bonding! Gather the kids, turn on some music, and have a crafting session. They will love contributing their ideas, choosing what elements to add, and getting their hands dirty in the process. It’ll be a project filled with laughter and creativity—your busy board will be infused with love.
4. Creativity Unleashed
When you go custom, you can go wild. There are no limits when it comes to your imagination! Want to add a mirrored surface for some self-discovery? You got it! Interested in incorporating sensory squares made from different materials like felt, sandpaper, or bubble wrap? Definitely! The world is your oyster, and your busy board can be as quirky, colorful, and captivating as you want it to be.

Getting Started: Supplies You’ll Need
Now that you’re ready to embark on your busy board journey, let’s gather some supplies! Here’s a list to get your creative juices flowing:
- Baseboard: A sturdy plywood or MDF board (size can vary depending on available space and how ambitious you’re feeling).
- Fasteners: Screws, nuts, or hot glue for attaching items securely.
- Sensory Items: Buttons, zippers, latches, locks, and anything else that piques your kids’ interest. Think toys, kitchen utensils, or even old electronics parts (under supervision of course!).
- Paint or Finish: Optional, but a splash of color can personalize the board and make it visually appealing!
- Non-Toxic Sealant: If you’re using paint or raw wood, apply a kid-safe sealant for safety.
- Safety Equipment: Sandpaper for smoothing edges, and rubber bumpers to prevent slipping.
Designing Your Busy Board
1. Plan Your Layout
Before you get too excited and start throwing things onto your board, it’s a good idea to plan your layout. Keep in mind the size of the board and how you want things arranged. You might want to have sections dedicated to different types of activities—like sensory experiences, motor skill challenges, and cognitive puzzles. Mark your spots lightly with a pencil.
2. Choose Your Activities
This is where the fun begins! Here are some popular activities to consider adding to your busy board:
- Zippers and Buttons: Great for fine motor skill development.
- Locks and Latches: Perfect for problem-solving and coordination.
- Wheels and Pulleys: Ideal for imaginative play.
- Mirrors: For self-reflection (and giggles!).
- Textures: Add sensory patches made from different fabrics to play with touch.
- Musical elements: Incorporate bells or chimes for sound stimulation.
- Shape Sorters: Challenge your little ones to match shapes as they play.
3. Get Crafty
Once you have your plan and activities sketched out, it’s time to get crafty! Secure items onto the board using your chosen fasteners, ensuring everything is safe and sturdy for little hands. Don’t hesitate to involve your mini-me in this stage; let them help with the gluing or screwing (with supervision, of course).
4. Decorate!
Your busy board is almost complete! Now’s the time to get creative with colors and designs. Paint it in bright, cheerful shades or use washi tape for fun accents. You could even label different sections or activities to add an educational aspect to your creation.
Safety First
Remember, the safety of our little ones is paramount. Make sure all screws and fasteners are secure, and there are no sharp edges. Consider placing the busy board on the ground or a level surface to prevent it from tipping over. Always supervise your children while they explore their new creation!

>>>Read more: Pink Busy Board: The Perfect Addition to Your Girl’s Playroom
Conclusion: Let the Fun Begin!
And voilà! You’ve created your very own custom busy board—a marvelous combination of fun, learning, and a whole lot of love! Not only is it an entertaining skill-building resource for your kids, but it’s also an expression of your creativity and thoughtfulness as a parent.
The best part is that you can continue to evolve your board! Swap out items, introduce new materials, or create spin-off projects as your child’s interests and abilities grow. Who knew that crafting a busy board could lead to endless possibilities?
So, what are you waiting for? Grab your supplies and let the creative journey begin. Happy crafting, and may your busy board be a delightful success!
