Blog
Why Choosing Fabric Over Other Materials? How to Create a Fabric Busy Board for Your Kids!
Hey there, crafty parents and curious caregivers! Have you ever heard about busy boards? If you haven’t, you’re in for a treat. Busy boards, also known as activity boards, are fantastic tools for keeping your little ones engaged and entertained! They’re perfect for developing fine motor skills, problem-solving abilities, and even imaginative play. But today, we’re not just going to discuss busy boards in general; we’re going to focus on why choosing fabric as the primary material is a brilliant idea! Plus, I’ll throw in a step-by-step guide on how to create a fabric busy board that will keep your kids occupied for hours. Let’s jump right in!

Why Choose Fabric Over Other Materials?
- Textural Variety
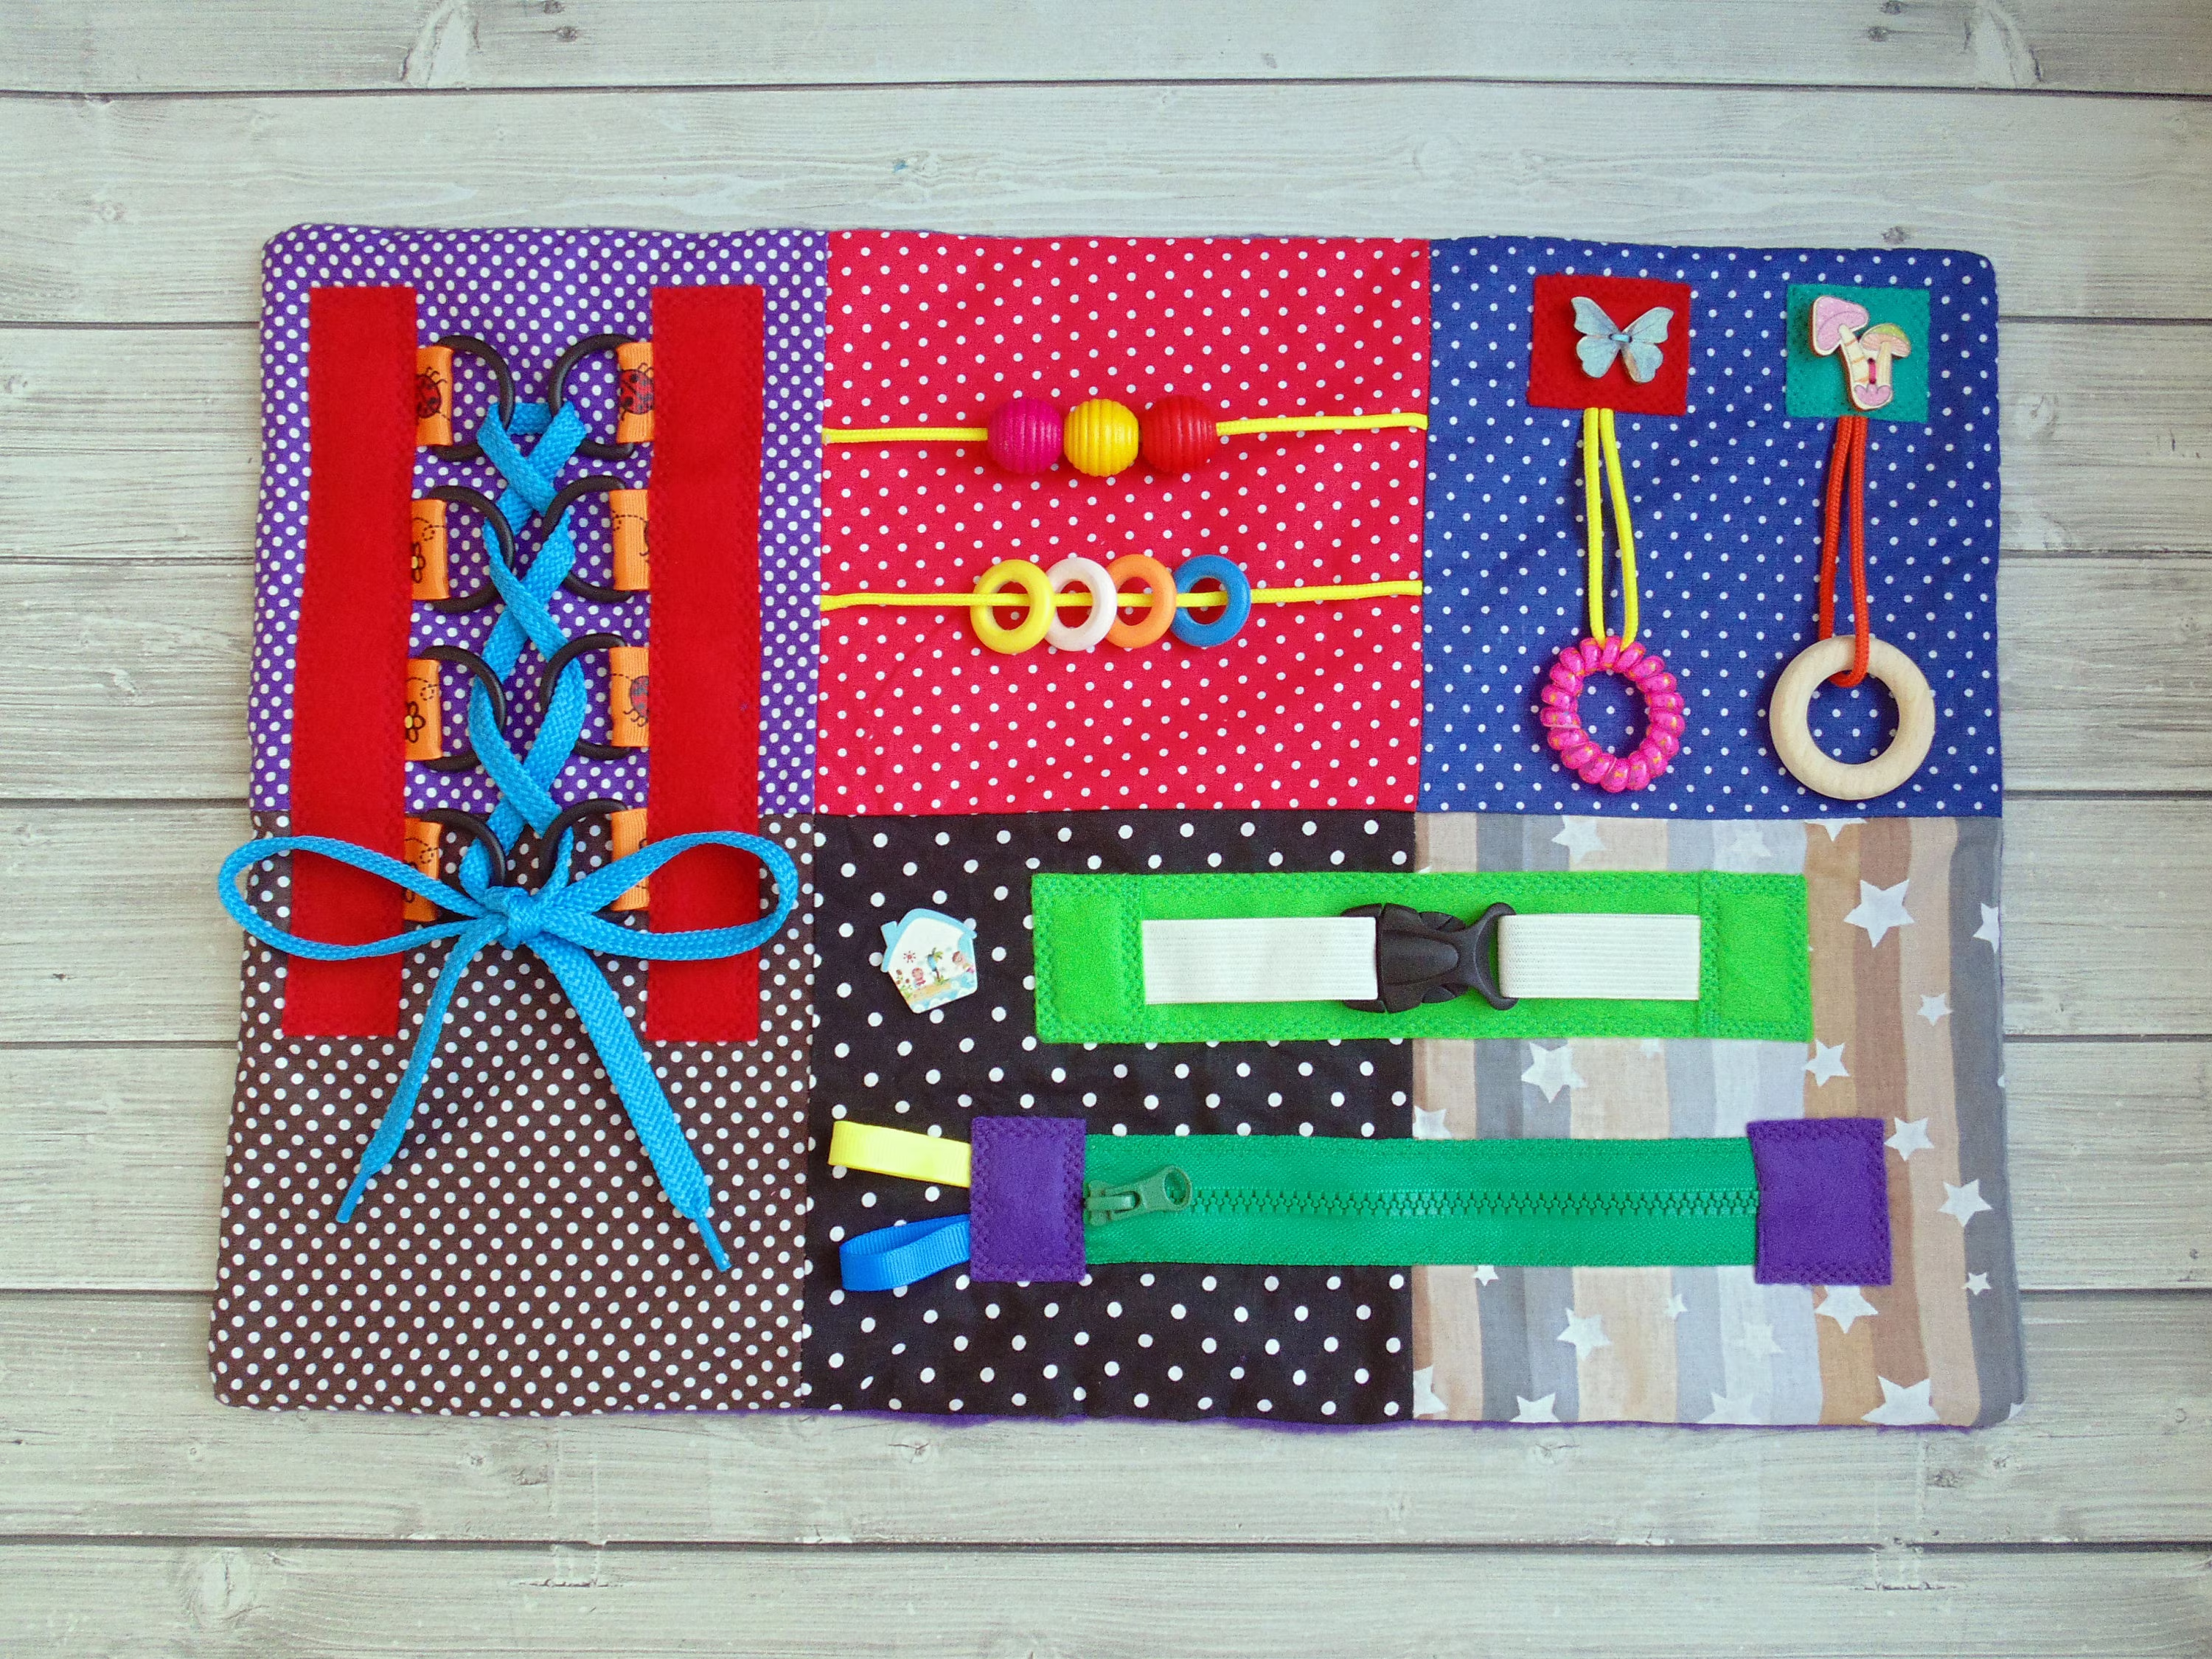
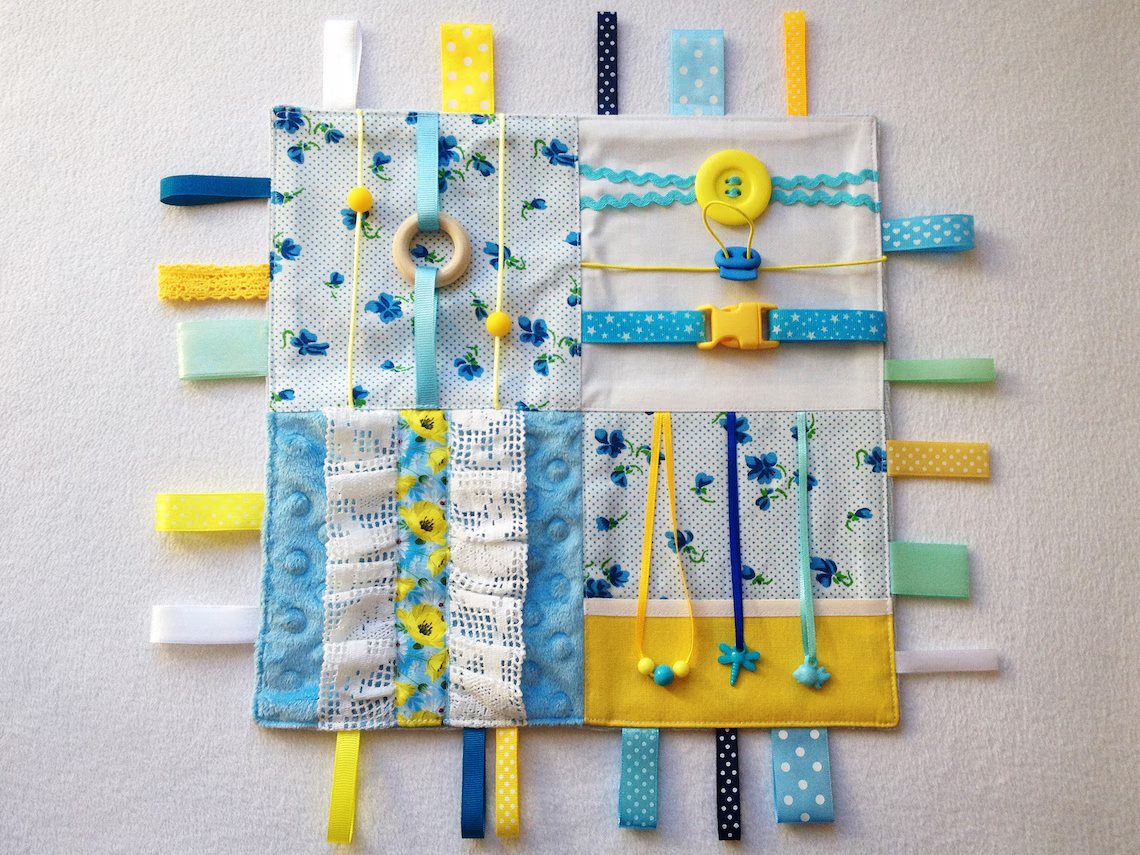
One of the coolest things about fabric is the incredible range of textures available. From soft fleece to sturdy denim to silky satin, each fabric offers a unique tactile experience. Kids are naturally curious and love to touch and explore different materials. The variety can stimulate their senses and encourage exploration and discovery!
- Safety First!
When it comes to kids, safety is a top priority! Unlike materials like wood or certain plastics, fabric is generally much softer. You won’t have to worry about splinters or sharp edges that can cause harm. Plus, there are plenty of non-toxic fabric options, making fabric a safer choice for youngsters who are prone to putting things in their mouths!
>>>Read more: Teach Your Child Responsibility and Boost Confidence with this Simple Daily Task: Folding Napkins and Clothes
- Easy on the Ears
If you’ve ever built a busy board using metal or plastic components, you know they can make a racket! Fabric is quiet, which means you can provide your little ones with an engaging activity without driving yourself mad. Plus, for kids who might be sensitive to loud noises, a fabric busy board can be a calming option.
- Customization Galore!
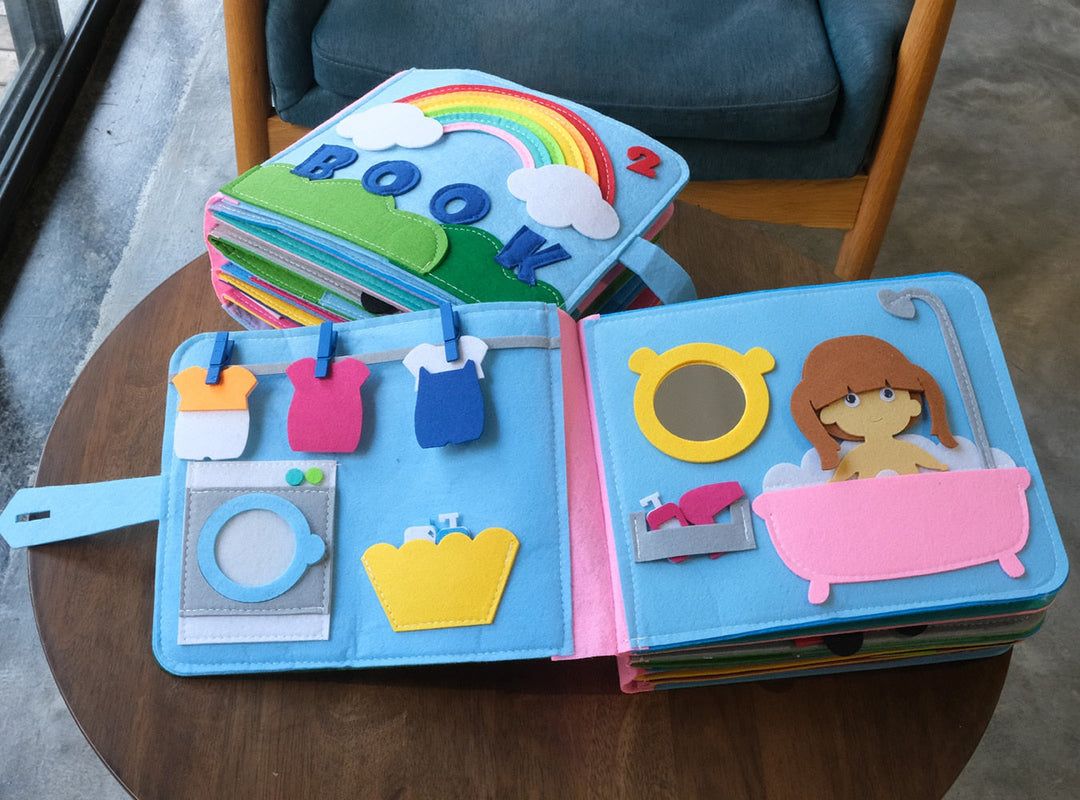
Fabric is incredibly versatile, which means you can customize your busy board in so many ways! Whether you want to incorporate different colors, patterns, or textures, the only limit is your creativity. You can use fabric scraps, upcycle old clothes, or even visit your local fabric store to find exciting materials to include!
- Lightweight and Portable
Let’s face it; sometimes, keeping our kids entertained on the go can be a challenge. Fabric busy boards are lightweight and easy to transport. Whether you’re headed to Grandma’s house, a picnic at the park, or a waiting room, you can easily toss the busy board in your bag and keep your little ones engaged wherever you are!
- It’s Eco-Friendly!
Fabric is a natural choice in an increasingly sustainability-conscious world. By using upcycled fabric or purchasing from sustainable sources, you can create an environmentally friendly busy board that scores points for both creativity and conscientiousness!

How to Create a Fabric Busy Board for Your Kids
Ready to create your own awesome fabric busy board? Let’s get into it! Here’s a step-by-step guide to constructing one that will delight and engage your little ones.
What You’ll Need:
- Base Board: A sturdy piece of cardboard, wood, or fabric for the foundation.
- Assorted Fabrics: Different colors, textures, and patterns.
- Sewing Supplies: Needle, thread, or a sewing machine.
- Adhesives: Fabric glue or a hot glue gun for a quick fix.
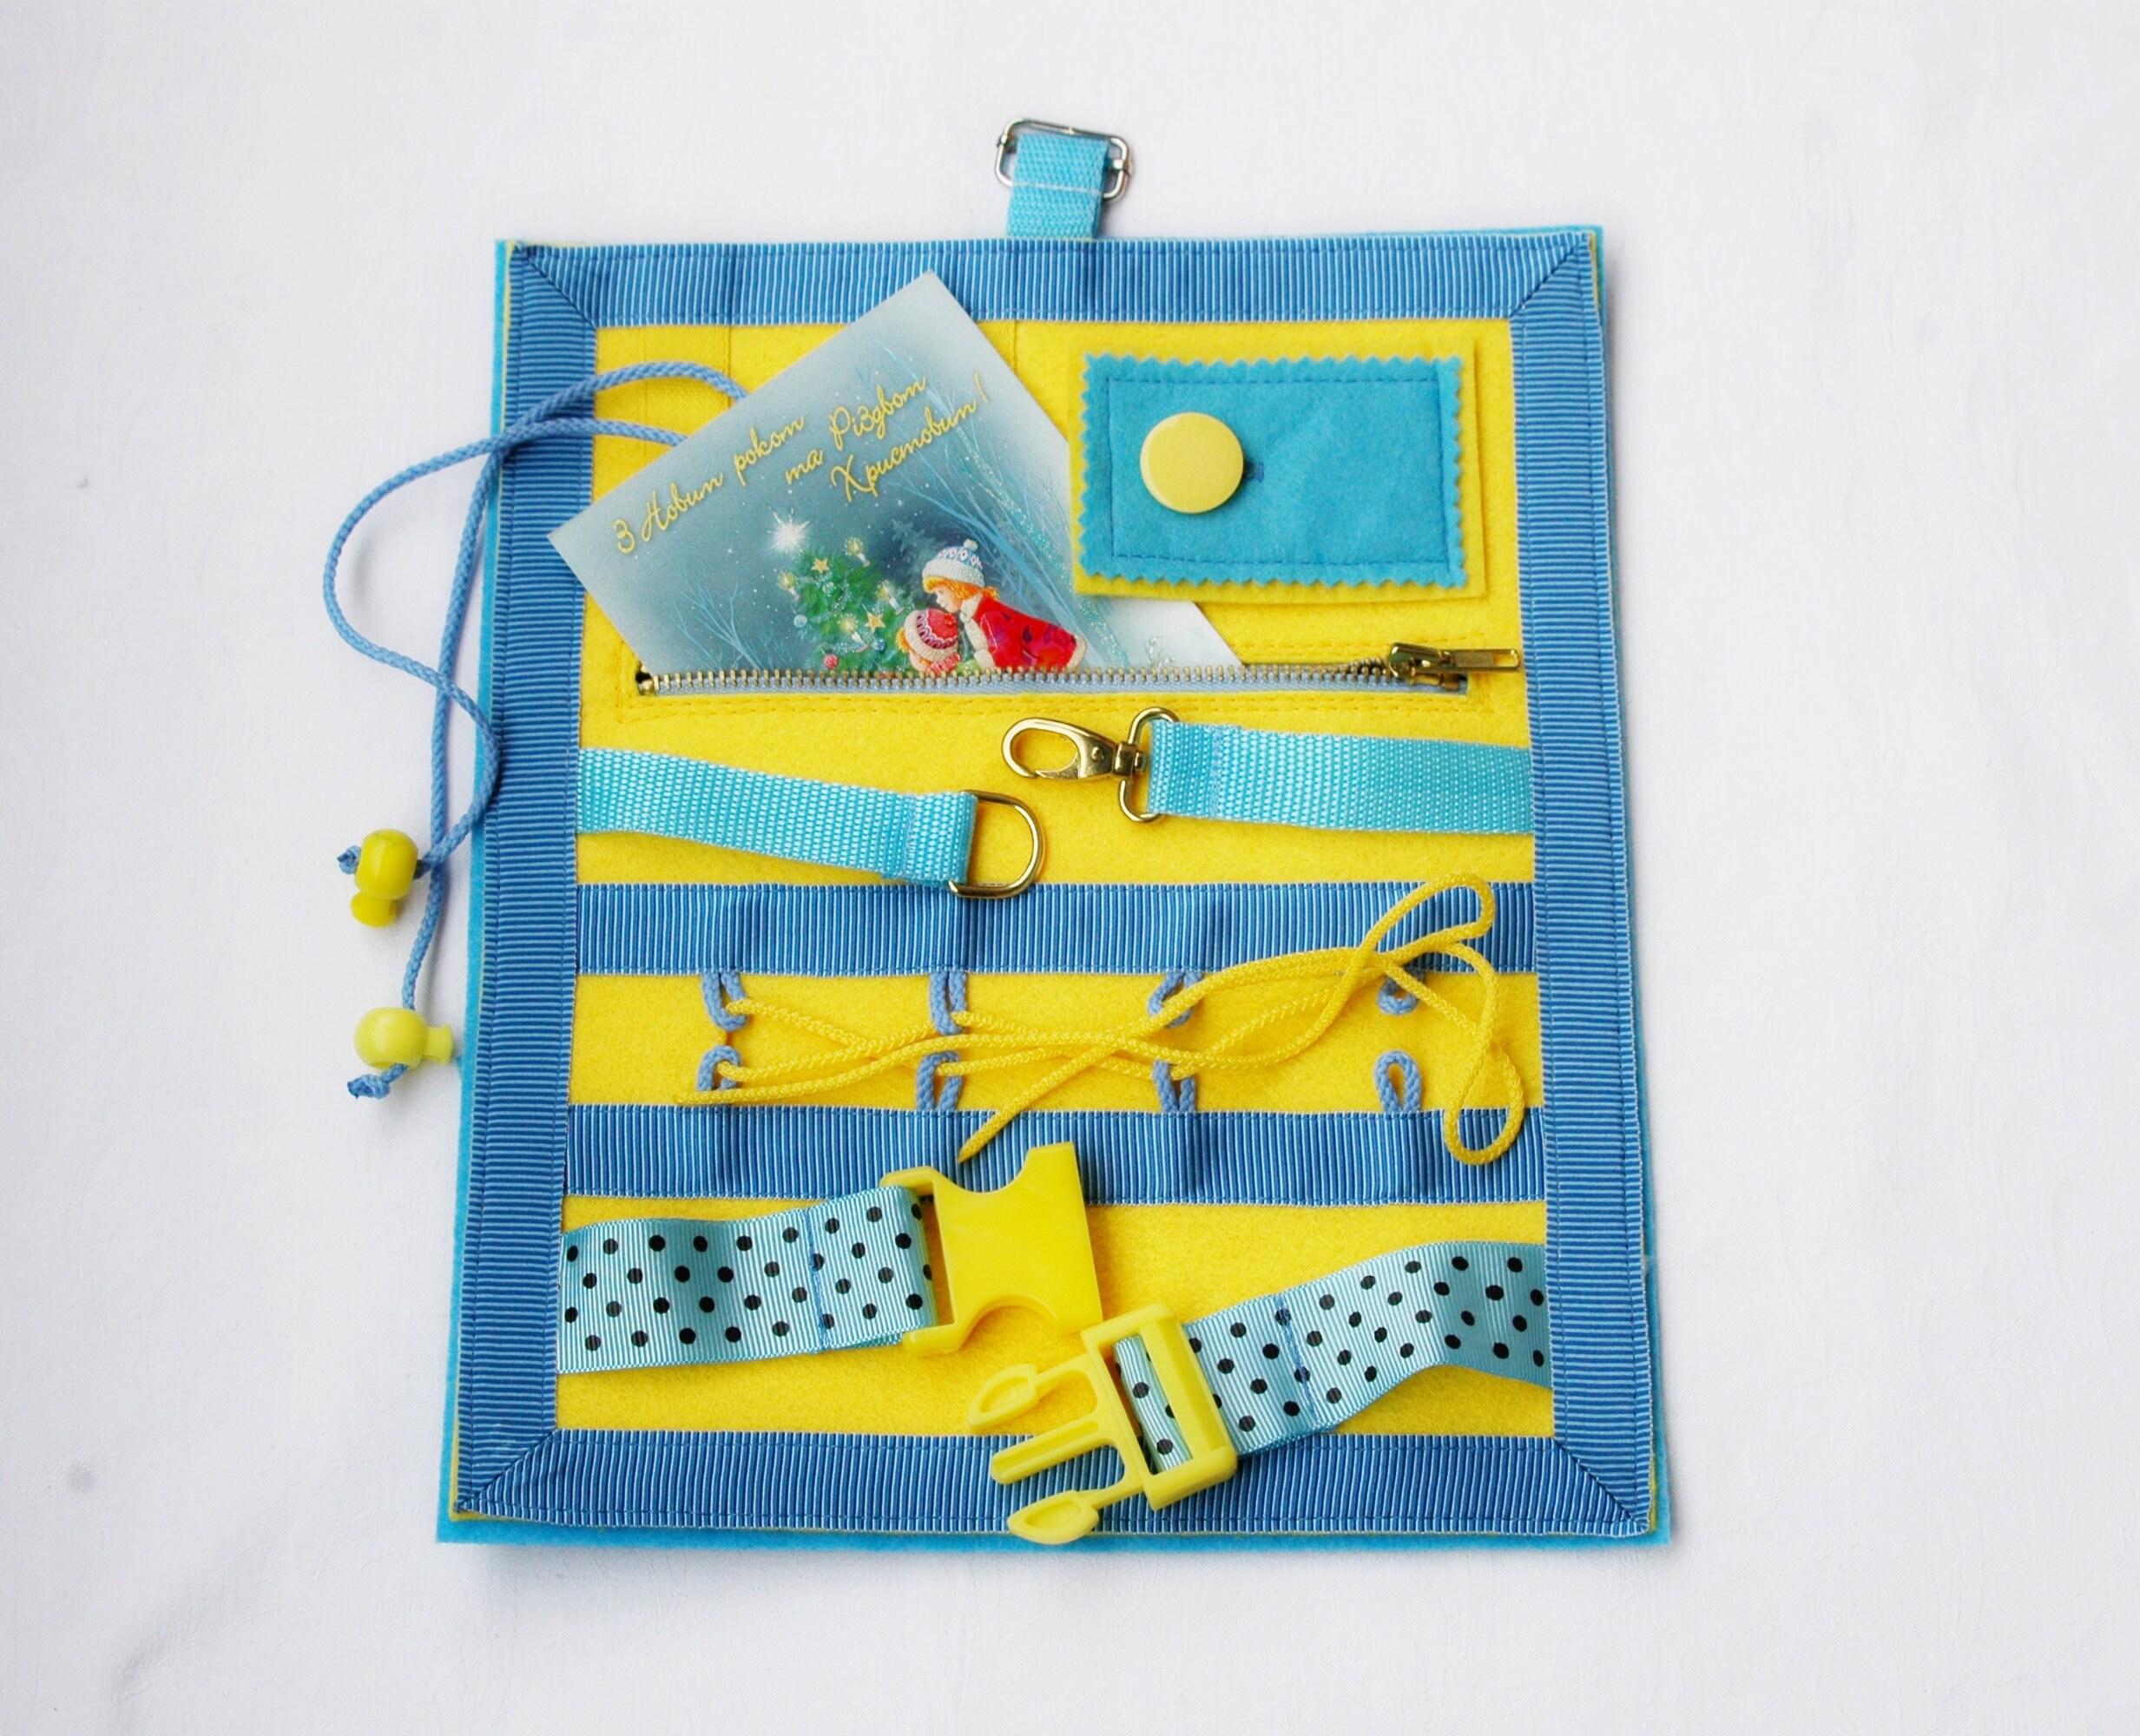
- Embellishments: Buttons, zippers, ribbons, Velcro, flaps – the possibilities are endless!
- Scissors and Safety Pins: For cutting and attaching various pieces of fabric.
- Optional: Stuffing for pillows or plush elements for extra tactile fun.
Step 1: Gather Inspiration
Before diving into crafting, think about what themes or elements your little one might enjoy. Do they love animals, colors, or patterns? Pinterest is a treasure trove for busy board ideas, or you can sketch your layout on paper.
Step 2: Cut Your Fabric
Once you have an inspired design, cut your fabric into different shapes or sizes based on your plan! You can create pockets, flaps, or even layered elements. Just make sure to cut fabric pieces big enough for little hands to grasp.
Step 3: Attach the Fabric
Attach the fabric pieces to your base board with fabric glue or sew them on if you’re feeling crafty! Incorporate various techniques like sewing up button holes for faux buttons or using Velcro to create removable pieces. The more interactive, the better!
Step 4: Add Elements
This is the fun part – adding embellishments! Sew on buttons for kids to manipulate, attach zippers to zip and unzip, or create little pockets for hidden surprises. Think about including fabrics that crumble, rustle, or might have textures that they can squish or pull on.

Step 5: Personalize It
Take it a step further by adding your child’s name or favorite figures using fabric paint or felt lettering. This personal touch not only makes the busy board unique, but it can also promote name recognition for younger kids!
Step 6: Test It Out
Once you’ve completed your masterpiece, it’s time for a test run! Observe your child as they interact with the board. Are they engaged? Are there any elements they seem to love more than others? Take notes so you can improve your model for future projects!
Step 7: Store and Rotate
After they’ve had their fun, be sure to store the busy board safely. To keep things fresh, consider rotating the components. Switch out fabric pieces or add new embellishments now and then to keep your child excited about their fabric busy board!

Final Thoughts
Creating a fabric busy board is more than just a crafting project; it’s an opportunity to bond with your little ones while giving them an educational tool they’ll love to explore. Remember, the key is to keep it simple at first; you can always upgrade and enhance as you go along. Ultimately, choosing fabric over other materials not only benefits the tactile experience but also ensures a safe, eco-friendly, and customizable playtime option.
So gather those fabrics, unleash your creativity, and enjoy the wonderful world of fabric busy boards! Happy crafting!
